


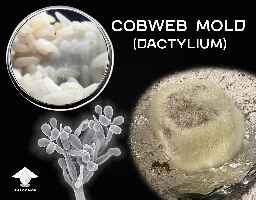
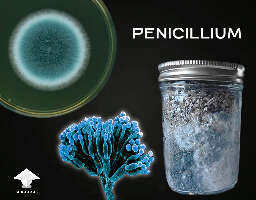
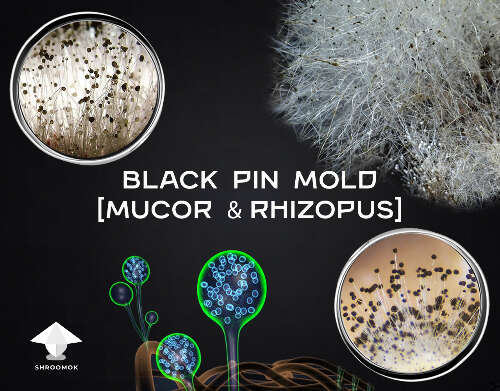
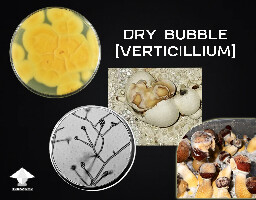
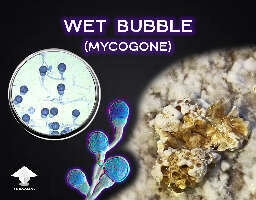
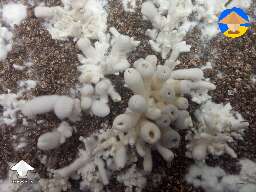
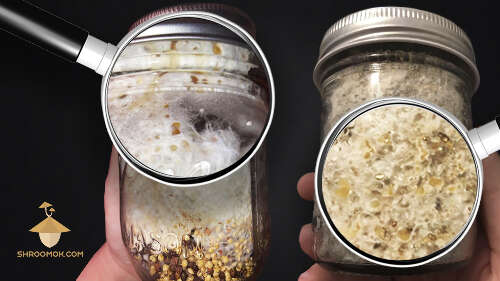
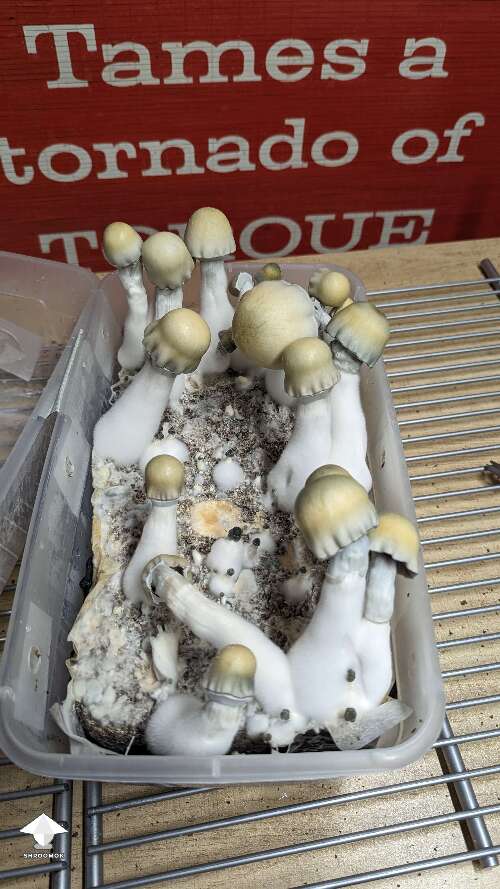
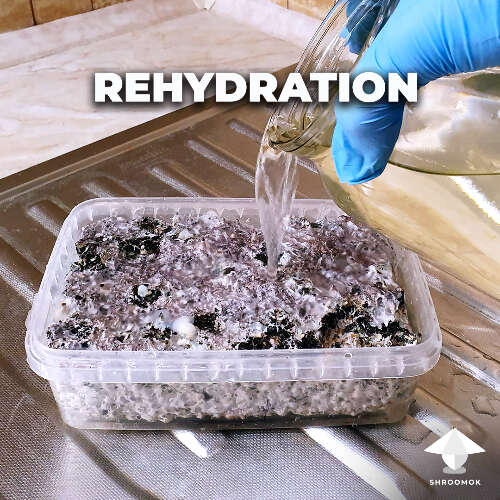
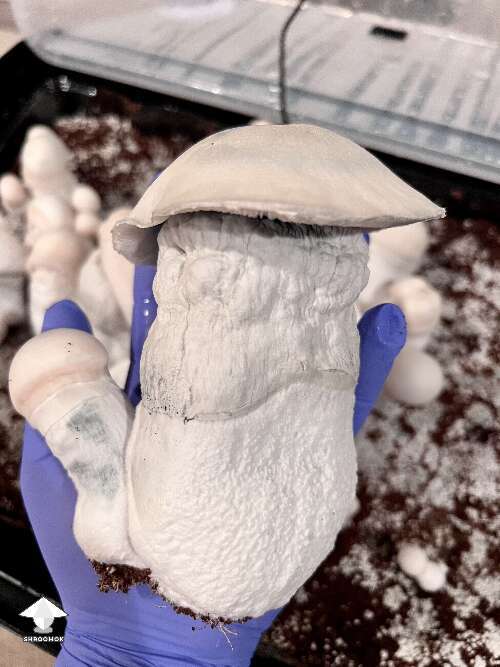
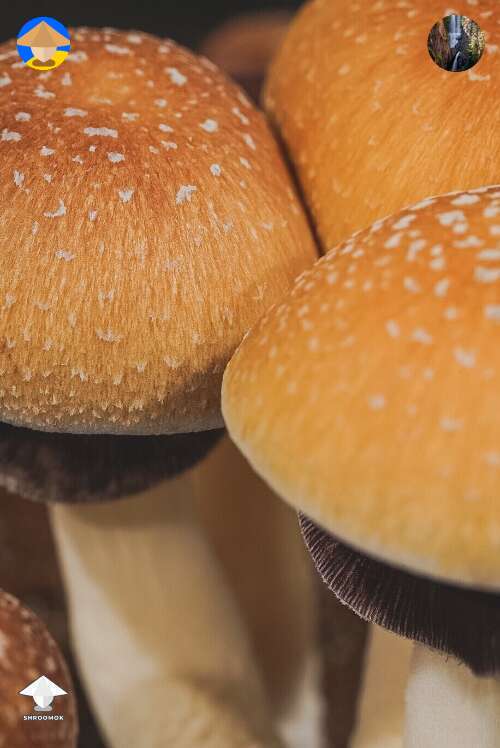
Load more photos
Shroomok's choice on Amazon
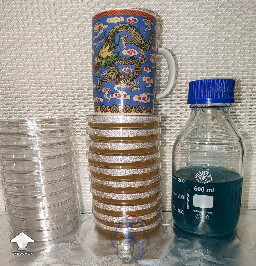
Sterile Water 100ml 6 Bottles
Isopropyl Alcohol 70% USP Grade - 4 X 1...
Gypsum on Amazon
Air Filters 64 pcs. + Injection Ports 10...
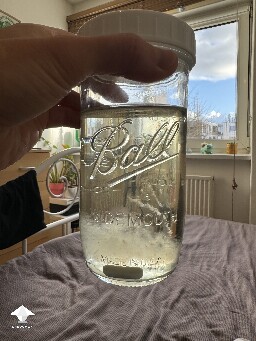
Ball Wide Mouth Mason Jars with Lids & B...
Vermiculite on Amazon
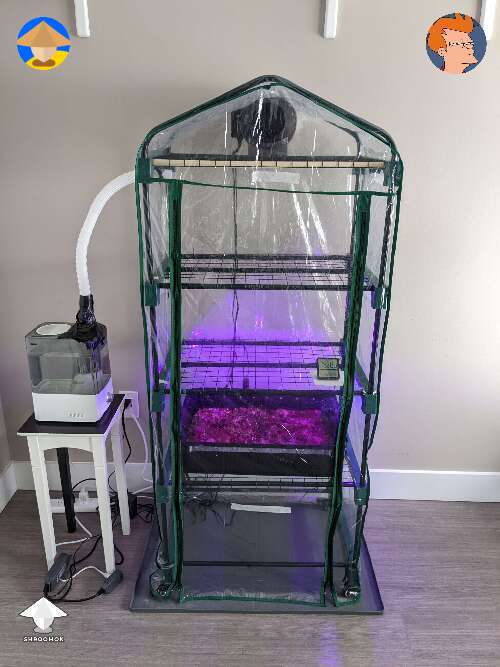
Humidity Controller
Size 0 - Gelatin Capsules
Humidifier 3L
Air Purifiers for Home Bedroom with H13...
Humidity Sensor with LCD Display for Gre...
Isopropyl Alcohol 70%


