


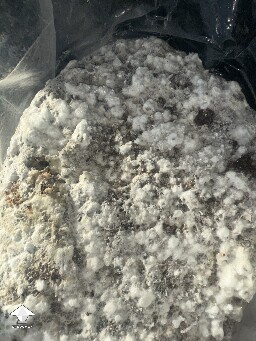
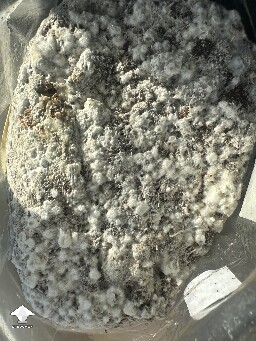

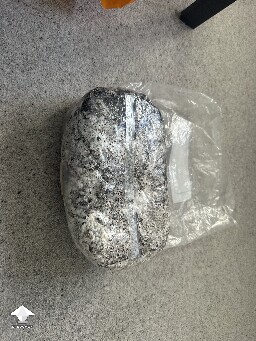
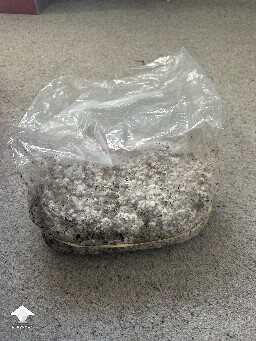

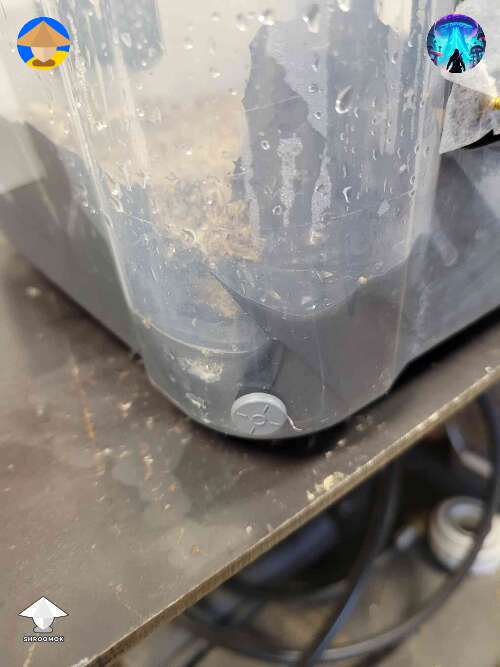
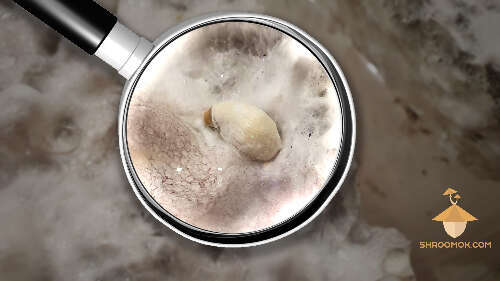
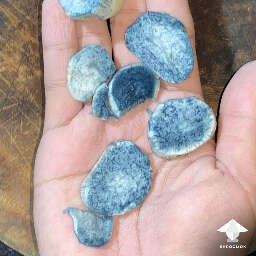
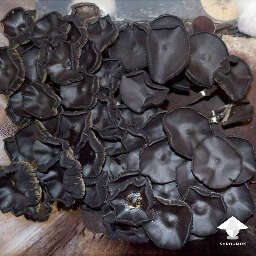
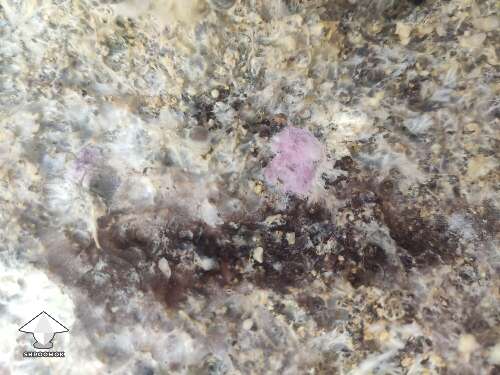
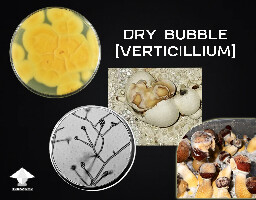
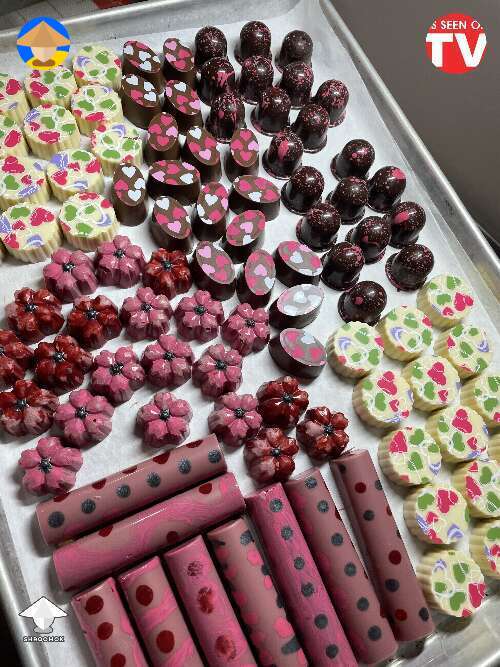
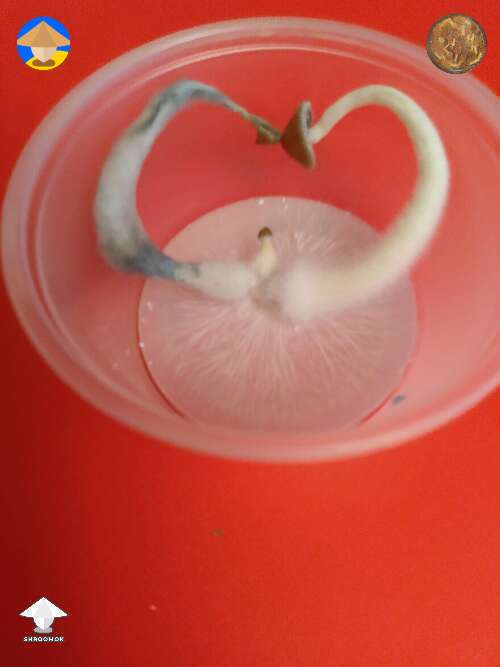
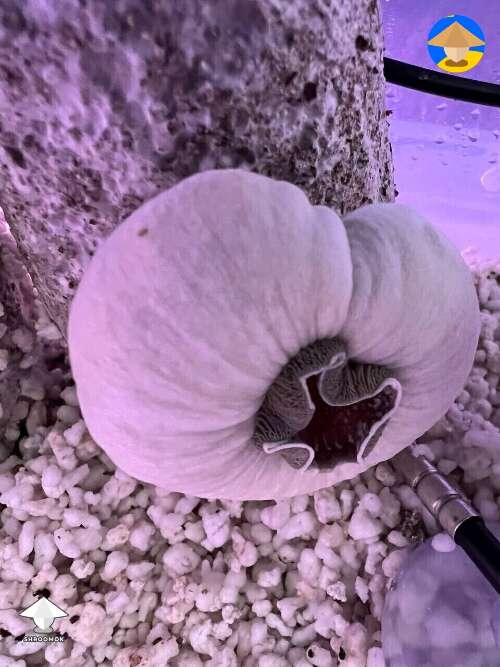
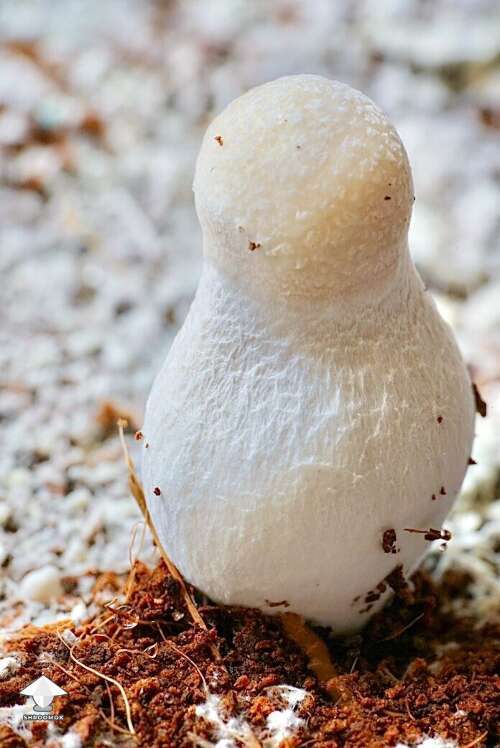
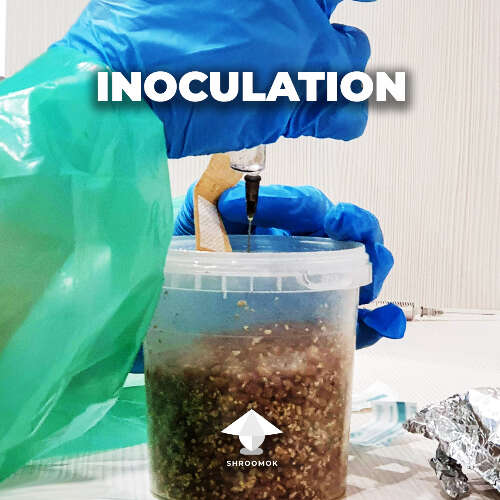
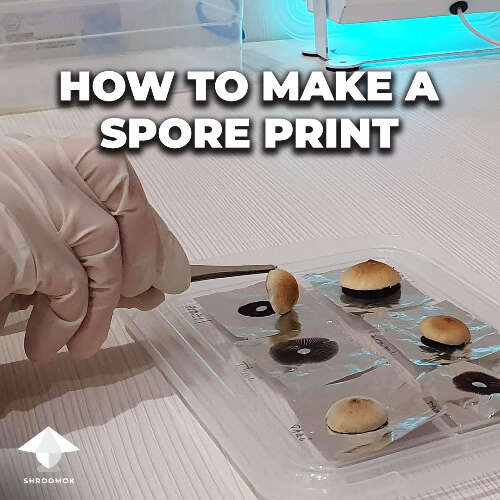
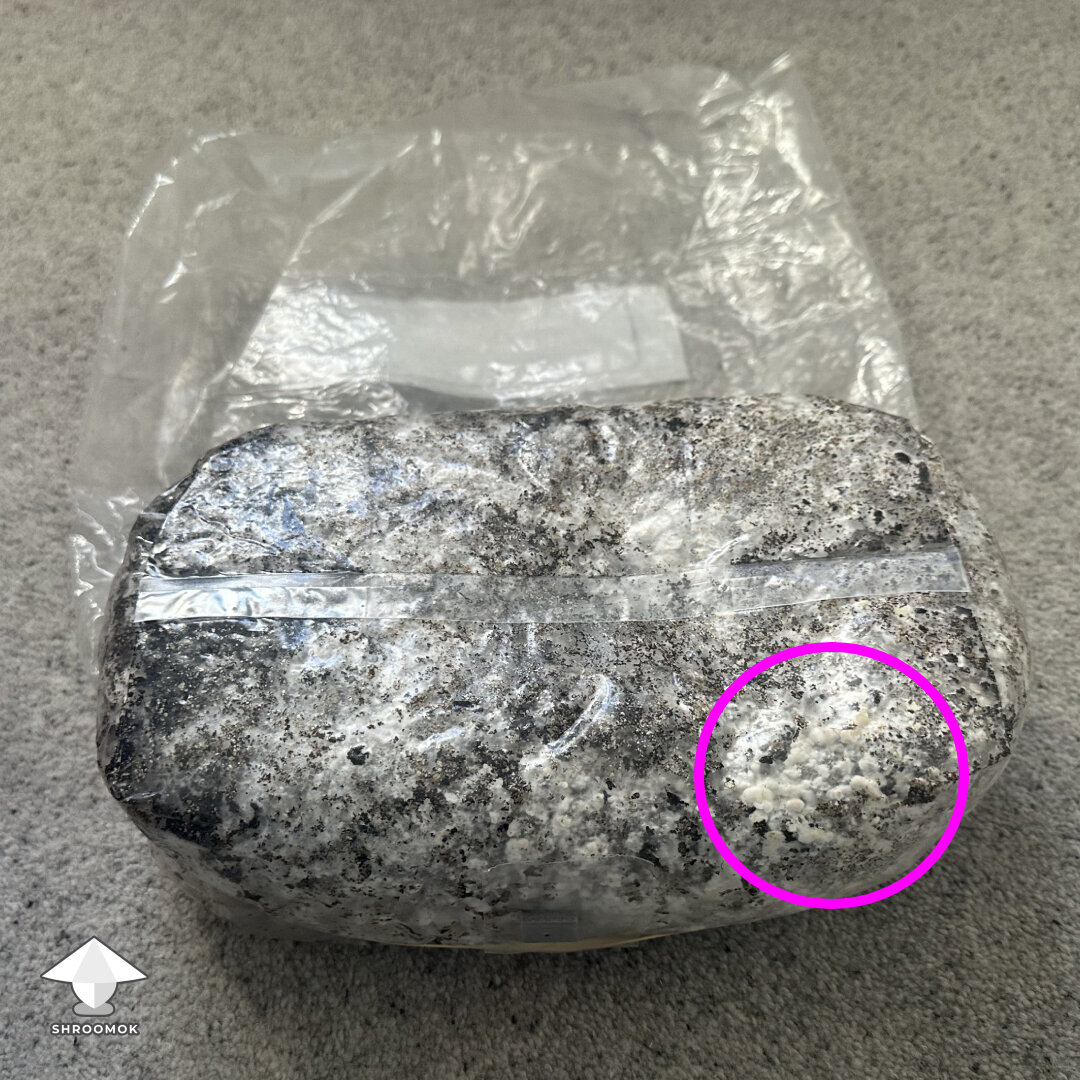
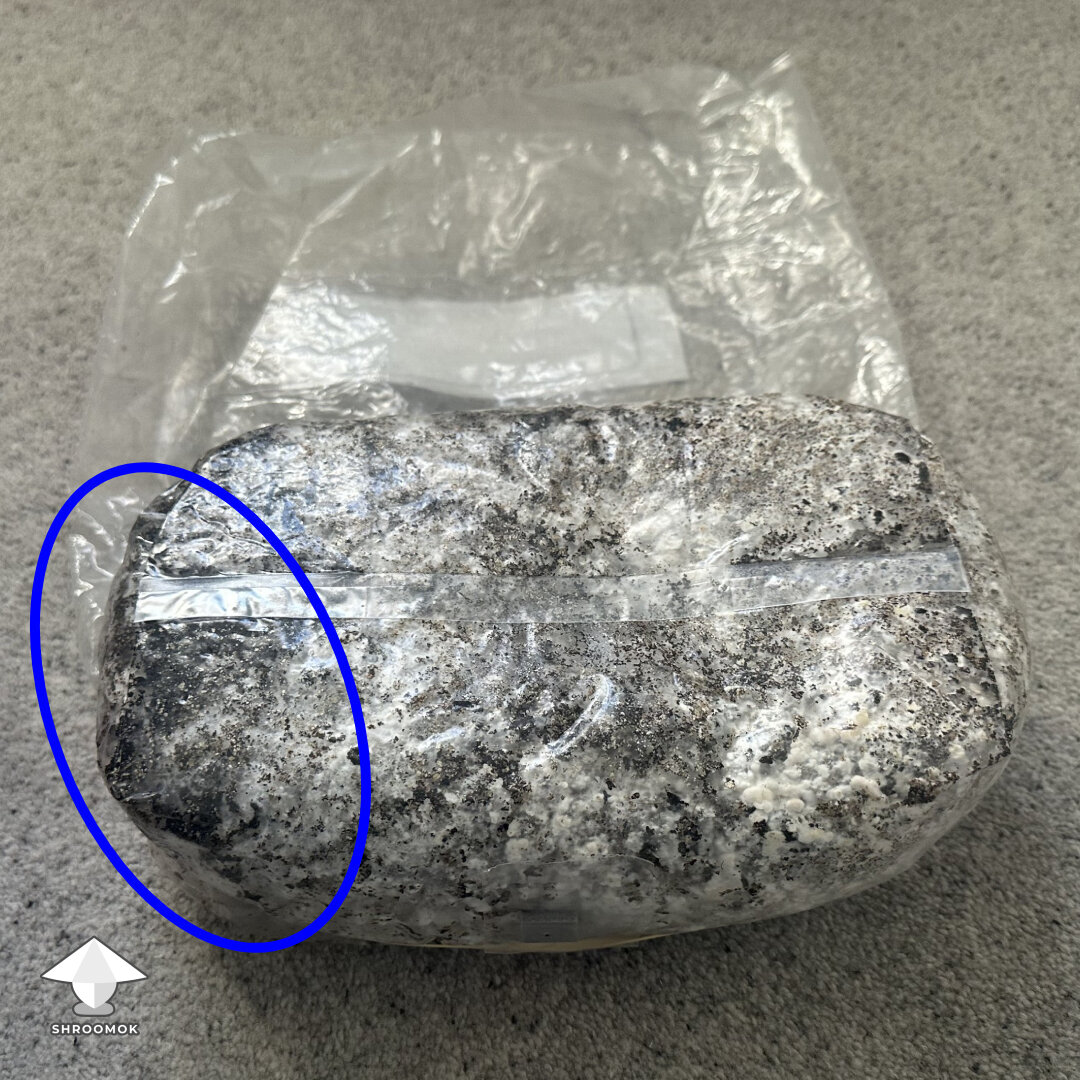
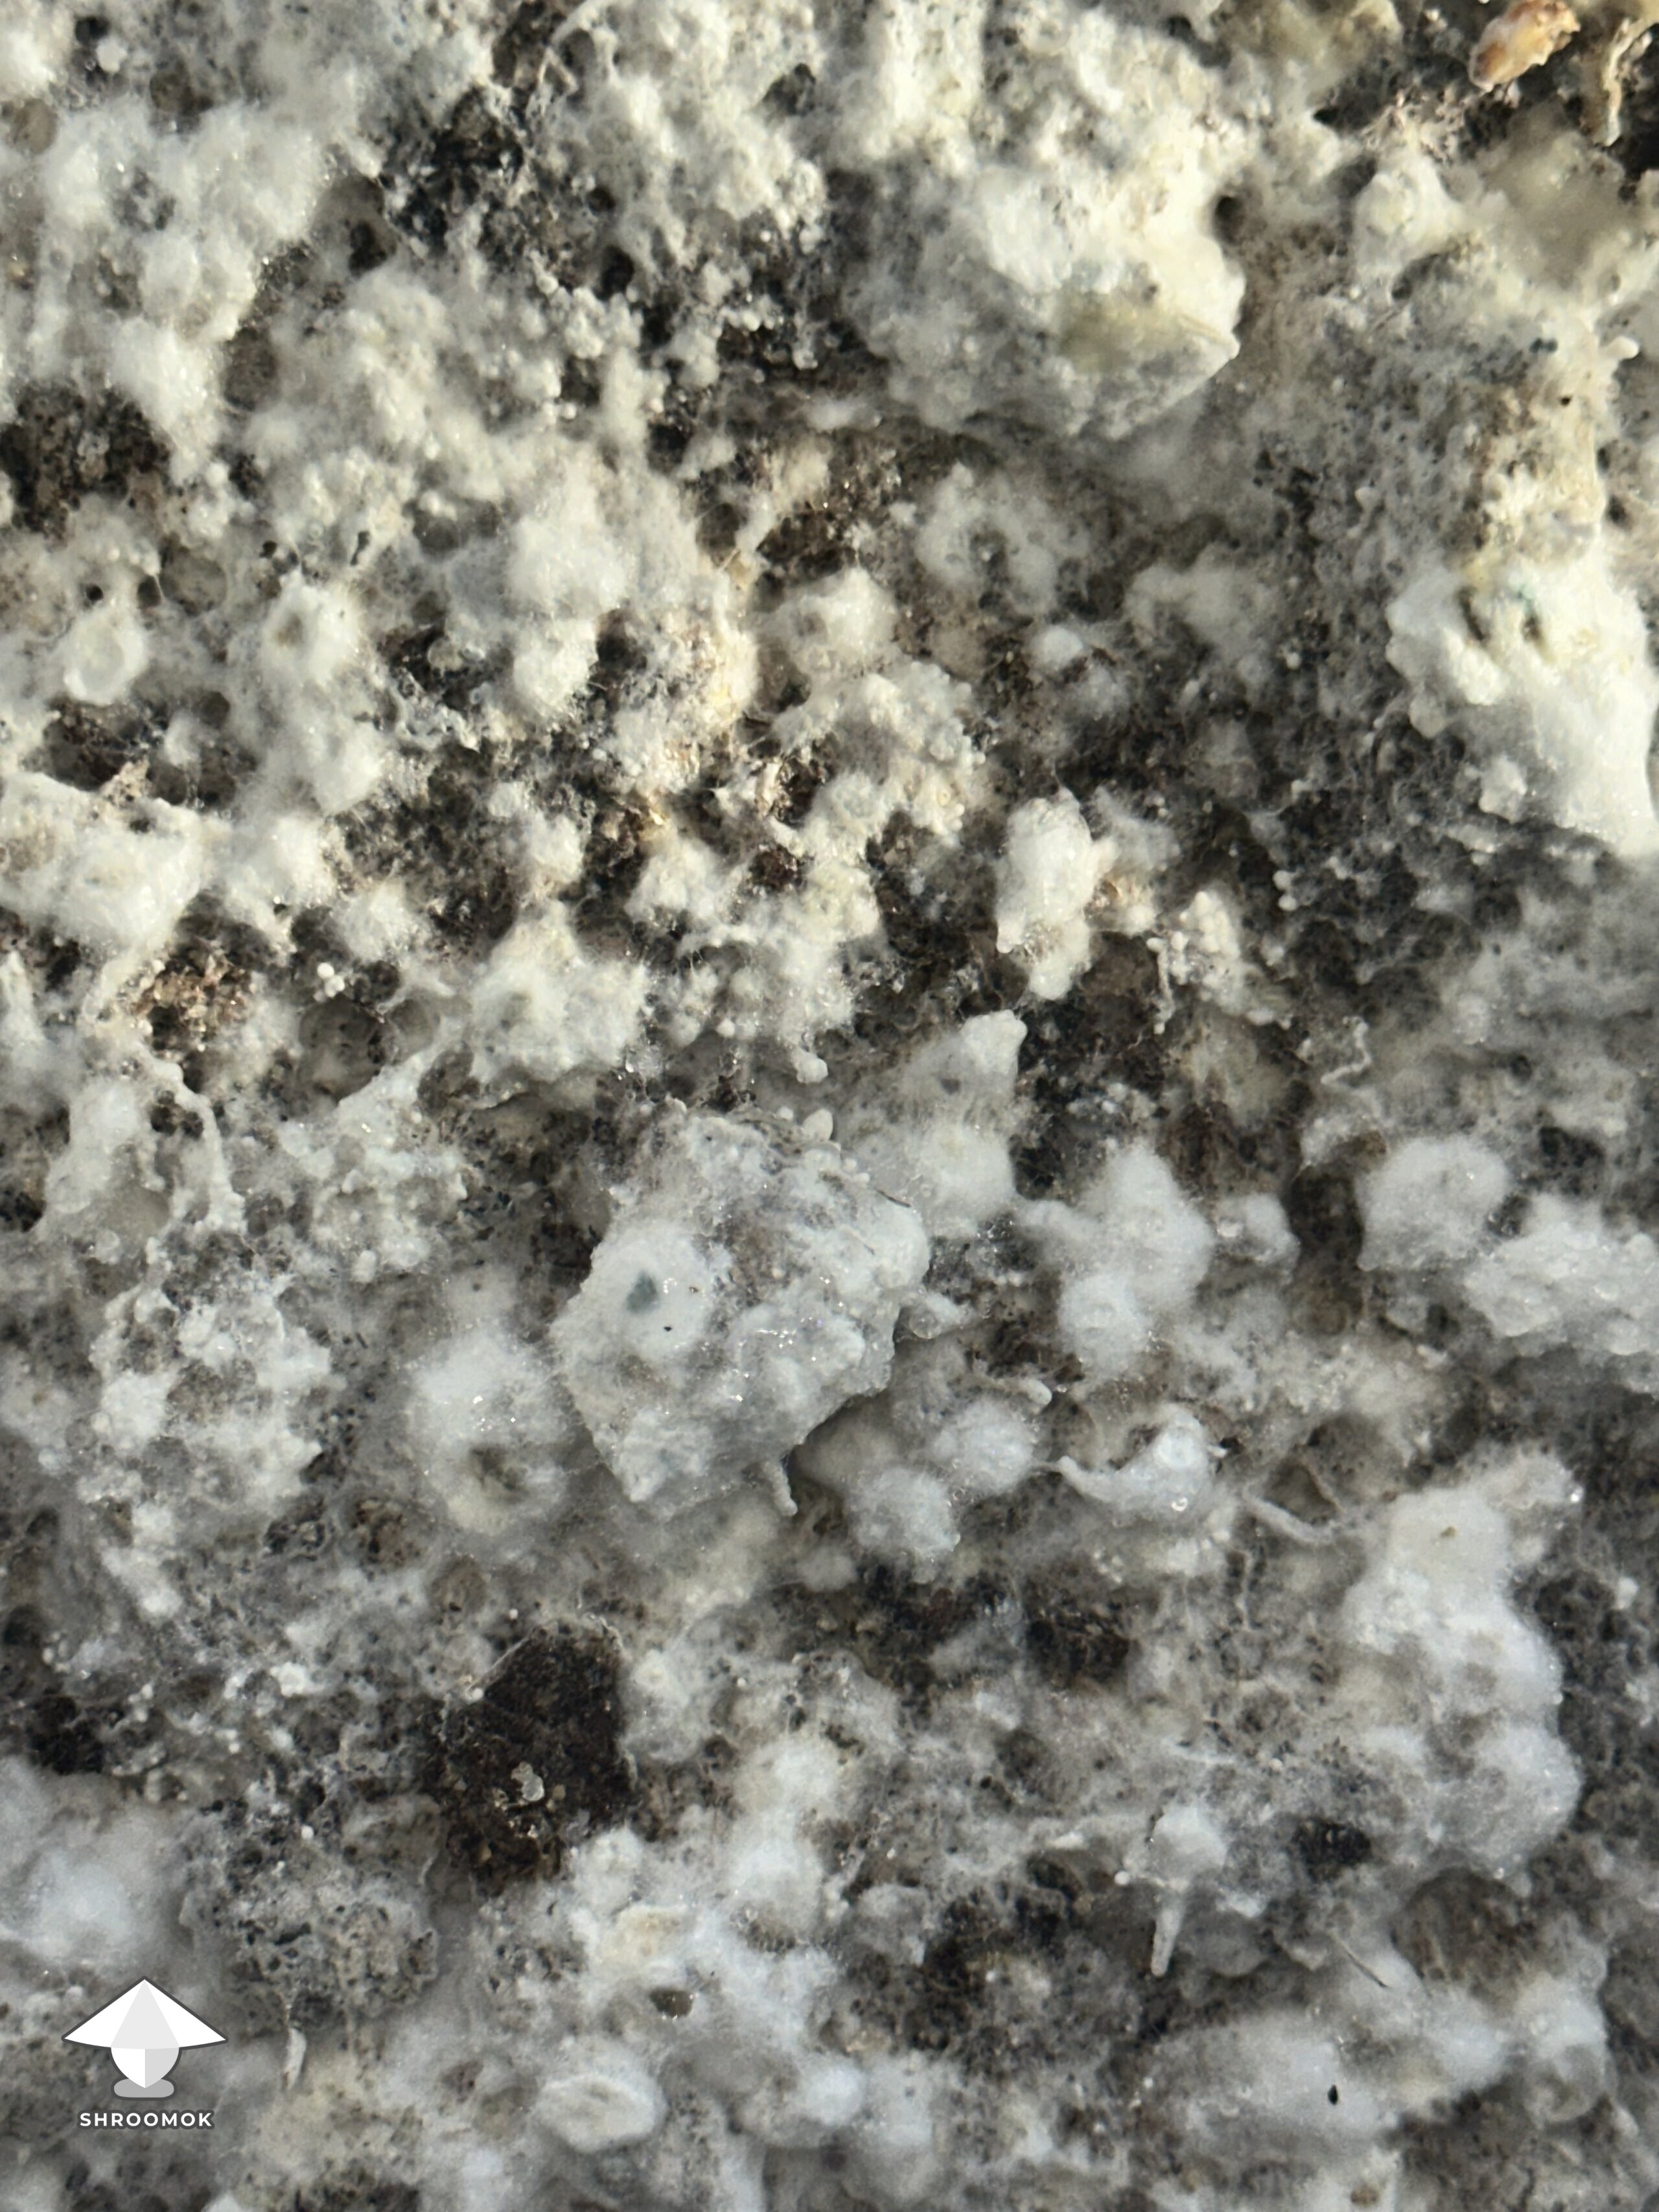
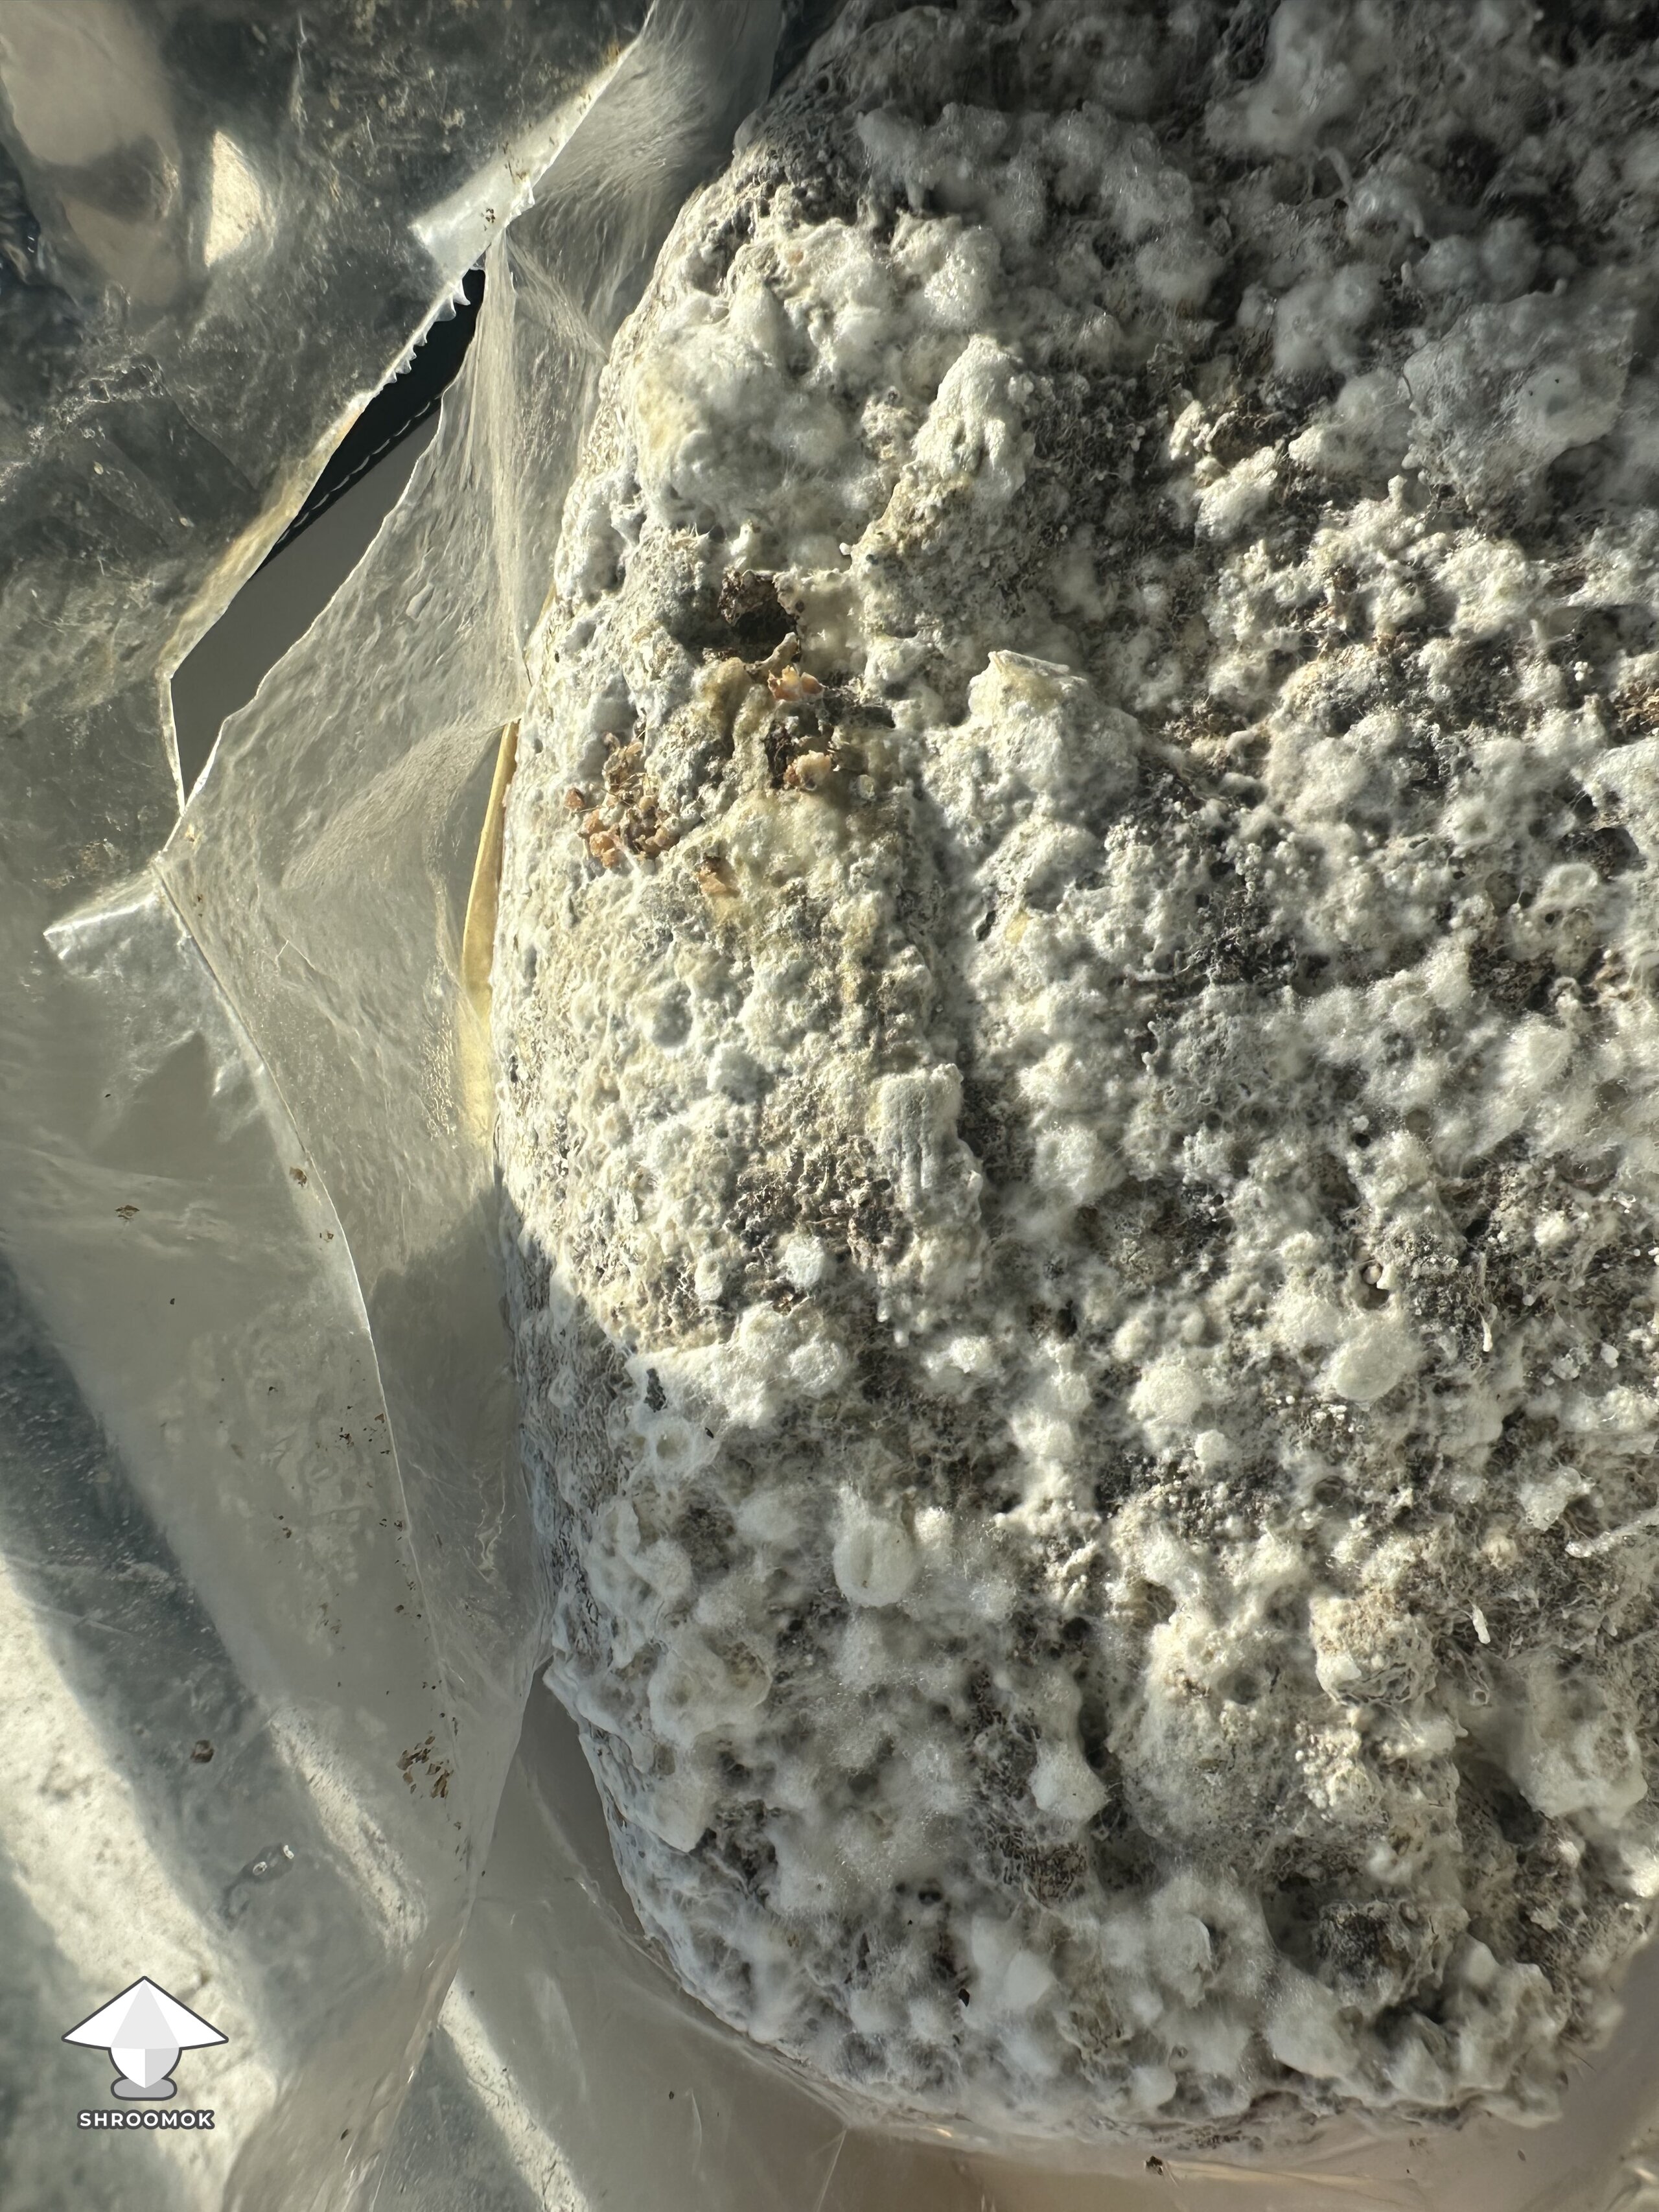
Load more photos
Shroomok's choice on Amazon
Mushroom Mug for Mushroom Lovers
NOW Foods Agar Powder, 5 Ounce
Organic Rye Berries 5 lbs - Non-GMO, Kos...
Oyster Shell Flour - Source of Calcium
Ball 66000 Mason Jar, Clear 12 CT
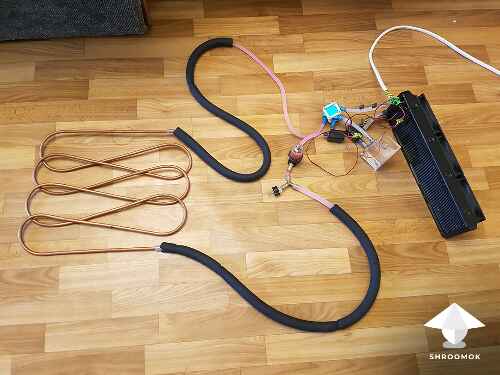
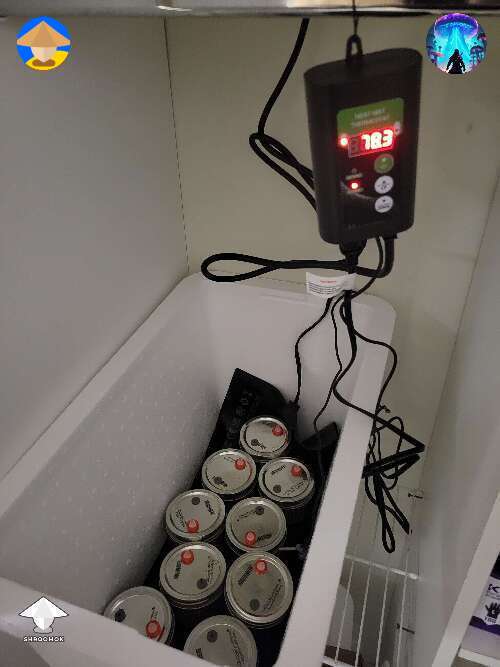
Advanced Infrared Heat Mat, w/o temperat...
Smart Plug, Smart Home - 2 Pack
Amazon Elements - B Complex, High Potenc...
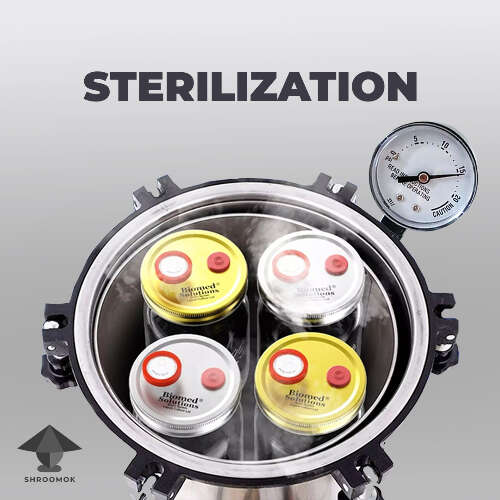
Pressure Cooker & Canner, 3 PSI Settings...
Semiconductor Refrigeration Cooler Modul...
Desk Gooseneck Magnifier Lamp - Metal La...
Soil pH Paper Testing Kit, 3.5-9 Range,...


