

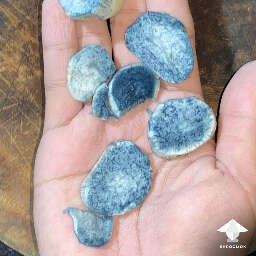
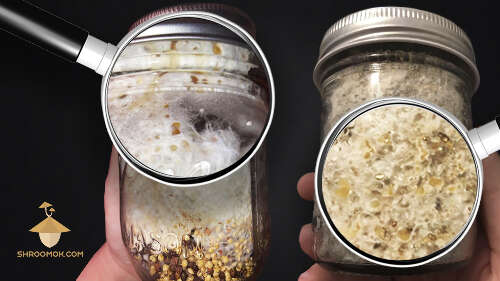
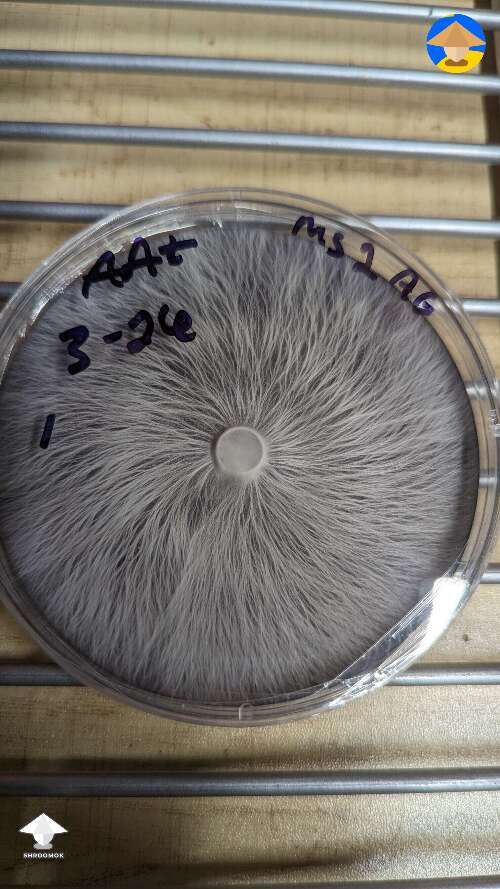
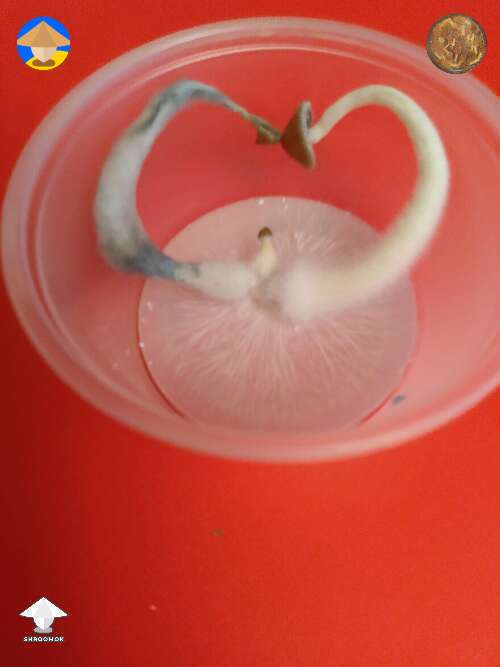
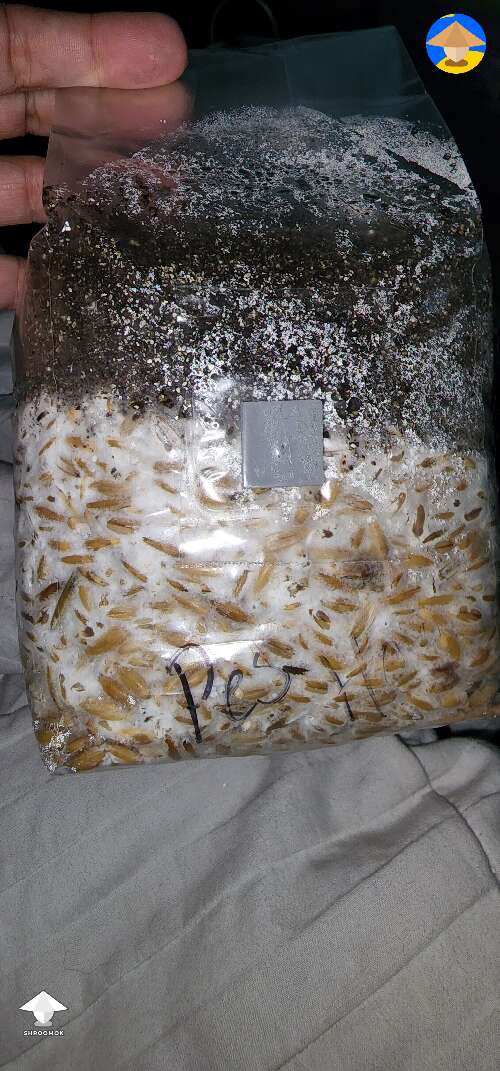
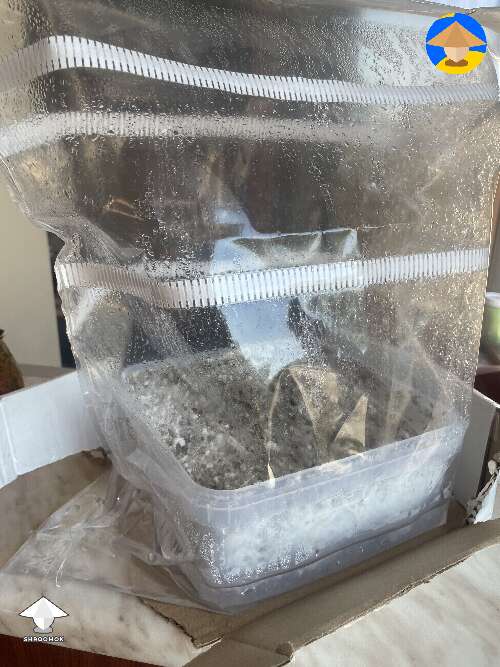
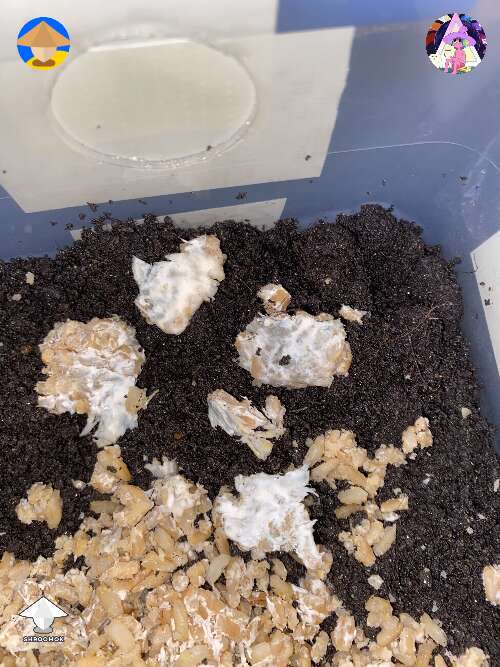
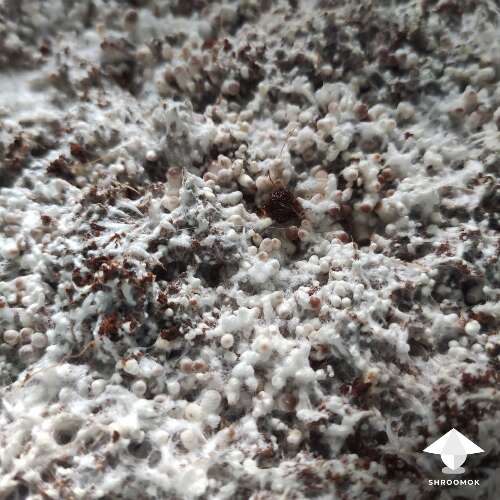
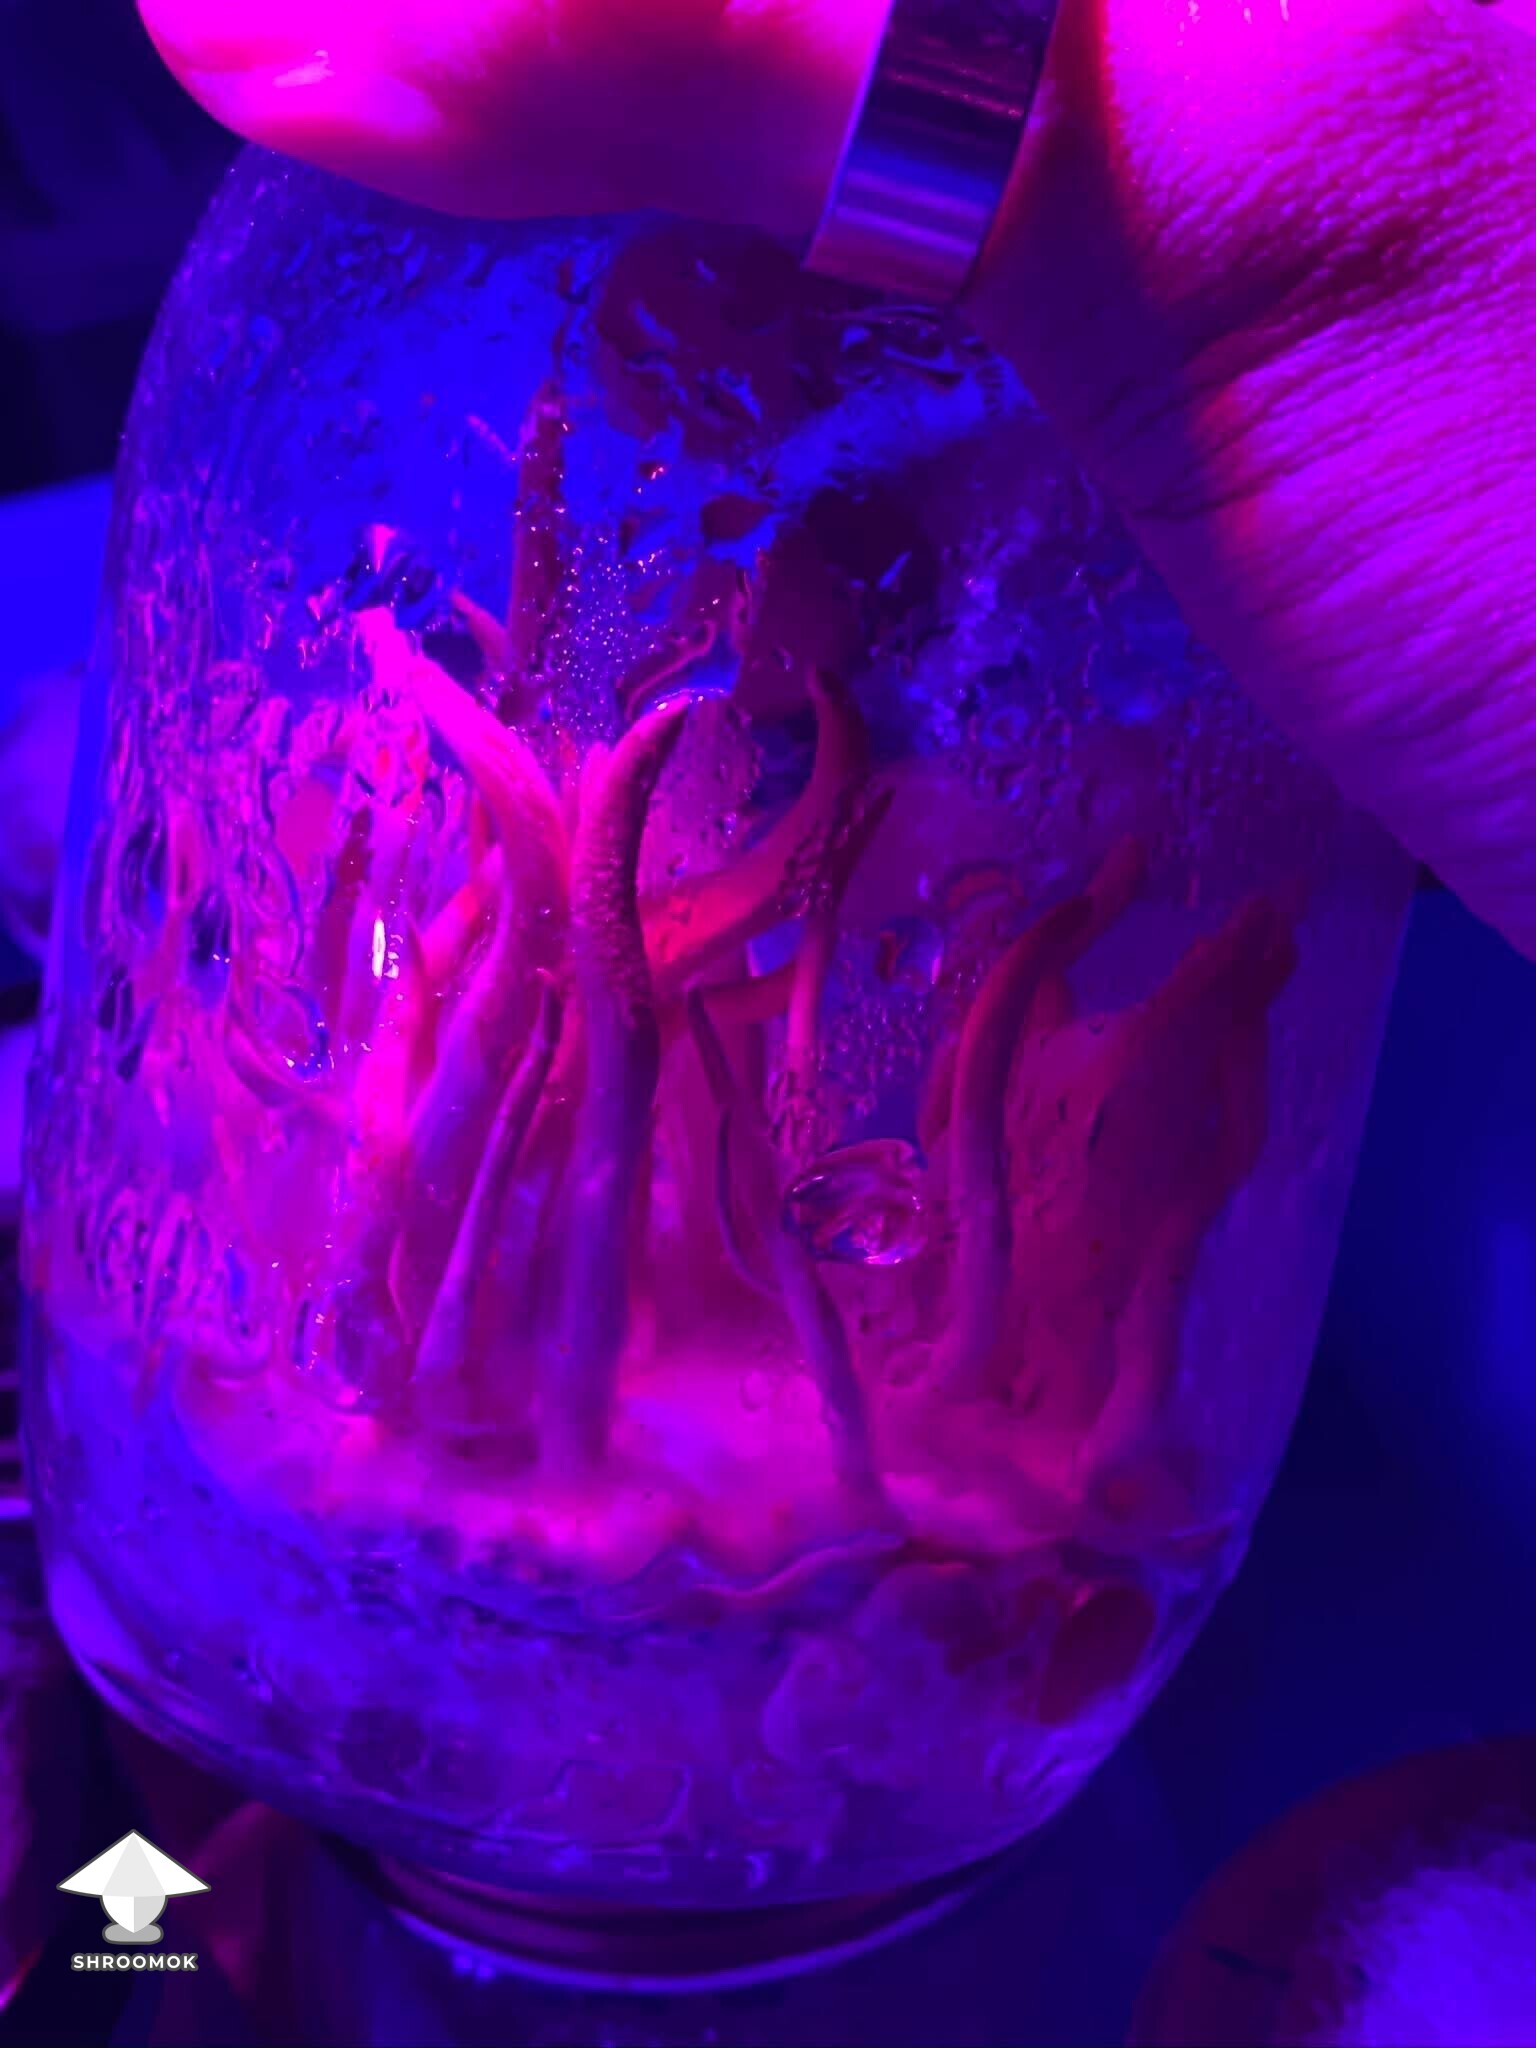
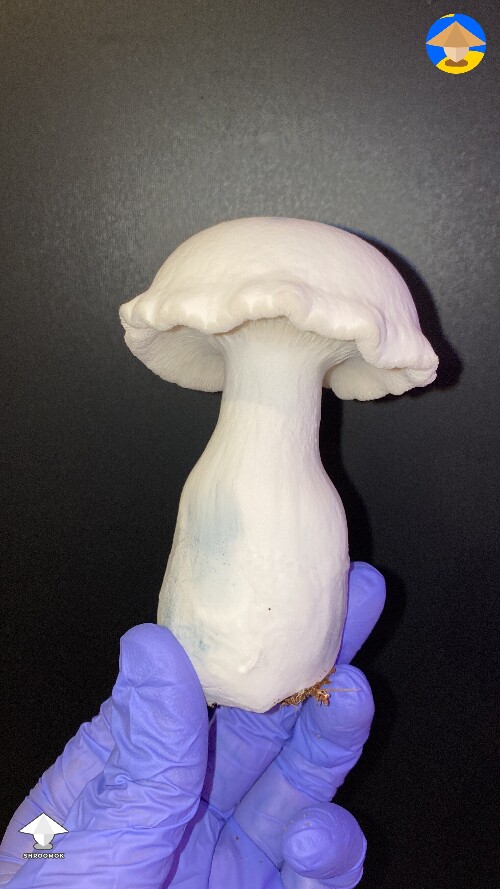
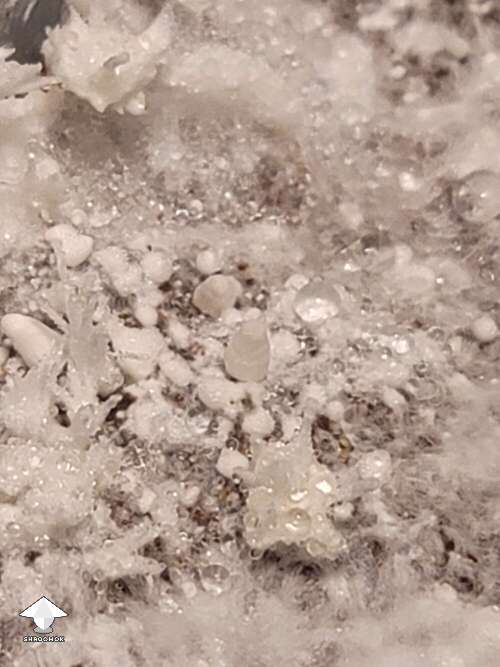
Day 20. Grain to Agar - Reishi by Shroomok
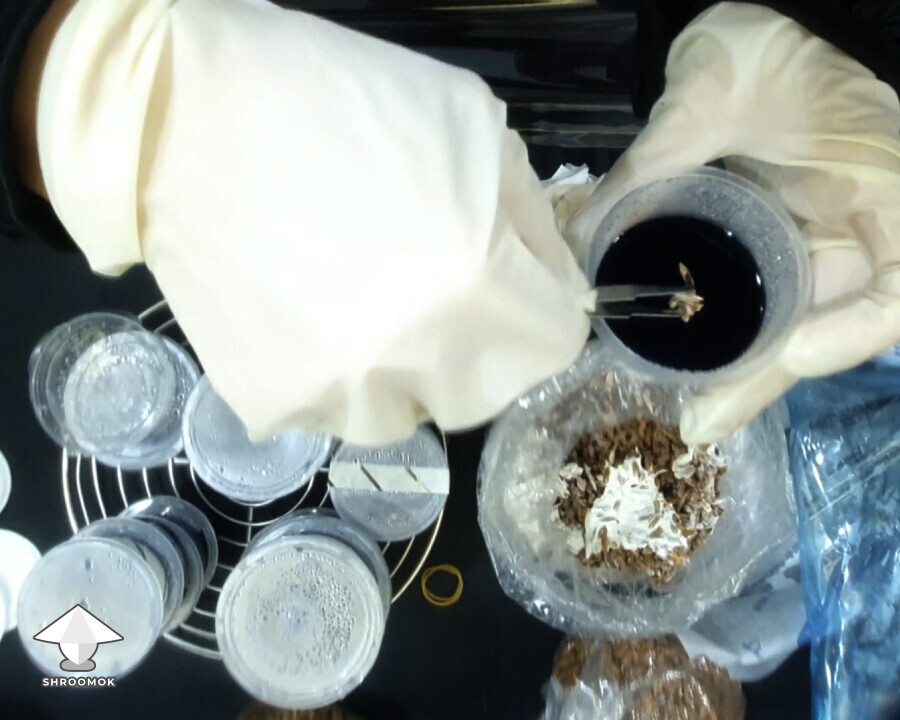
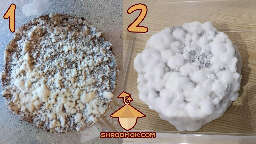
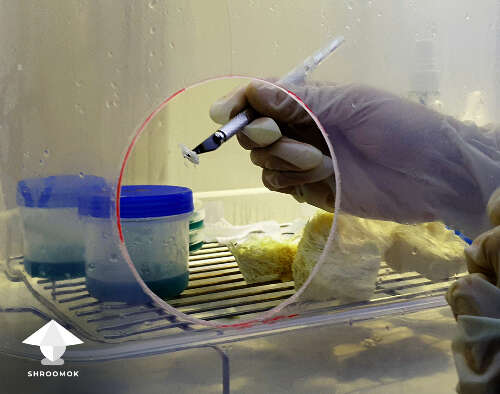
Here I demonstrate the process of agar inoculation with grain spawn sample. Image from forum thread Day-to-day Reishi growing diary post #11 #2
You can find this image in forum threads:
-
Day-to-day Reishi growing diary
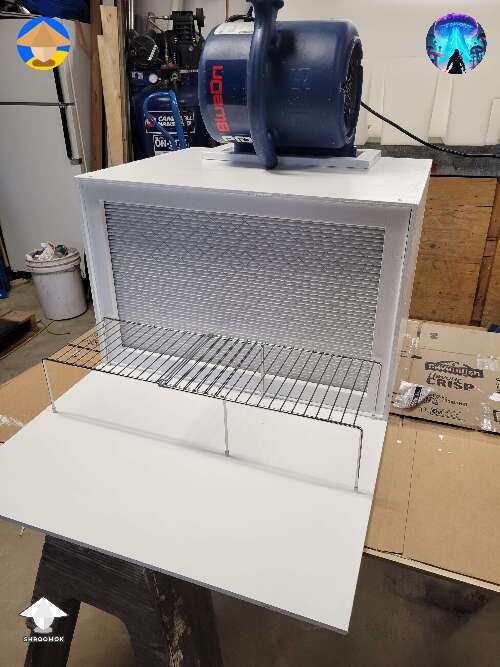
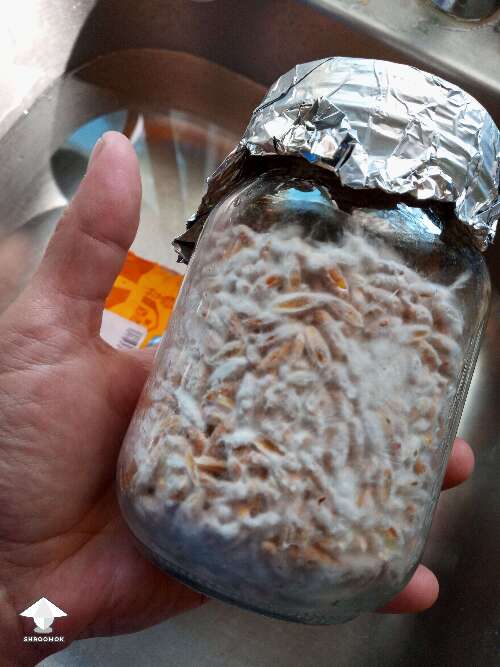
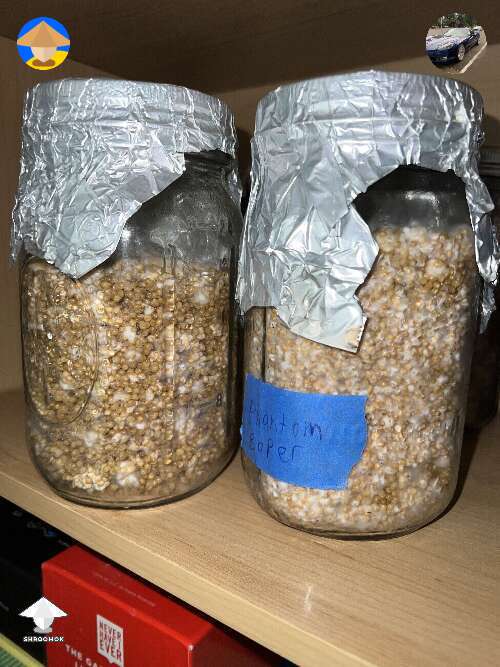
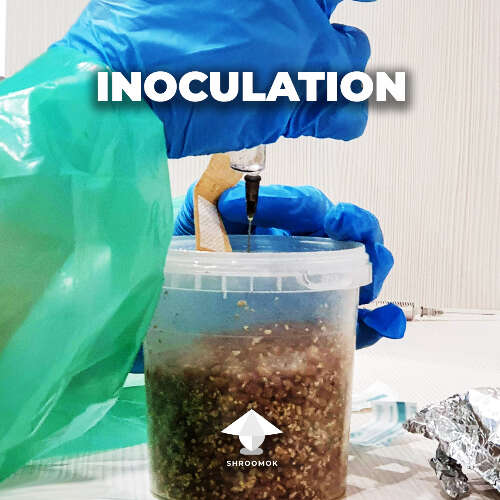
Day 20 (Part 2). TransfersI set up a Still Air Box (SAB) and placed all the necessary stuff inside.Then I made transfers in SAB one by one:1) Grain Spawn to AgarI prepared no-pour agar cups (5PP heat-resistant cups) and put grain spawn sample in each cup. This was mainly for demonstration—to show one of the ways to save mycelium.Pro Tip: You can also inoculate an agar plate with grain spawn samples from a pre-made grow kit. This way, you can save the genetics for future attempts and save money! 😉2) Grain to Grain Transfer I used the same spawn bag for Grain to Grain transfer, inoculating three more grain bags with Antler Reishi. This method speeds up colonization significantly.Pro Tip: You can also multiply mycelium from pre-made grow kits using Grain to Grain transfers! Detailed process here: Grain to Grain GuideAt this stage, the mycelium is strong enough, reducing the risk of contamination. Colonization also much faster because you're using active mycelium, and each grain becomes a starting point for mycelial growth. If you introduce just 1 tablespoon of spawn, you’ll create at least 100 active points of mycelium growth!3) Spawn to Bulk Finally, I did a Spawn to Bulk transfer (moving the spawn to the fruiting substrate) to prepare three blocks for mushroom fruiting.Pro Tip: One grain spawn bag (about 300 g or 0.7 lbs) is enough to inoculate 20–30 grain or bulk bags. I only needed one tablespoon per bag, but of course I used much more.The day was all about expanding mycelium and preparing for the main (fruiting) stage. Things are looking great, and I’m excited to see how these blocks develop!
Uploaded on


Comments
Add comment