


Mastering this skill can save you time and money in the long run. Equip yourself with the necessary reserves for mycological experiments without the fear of making costly mistakes or losing rare, valuable mushroom strains.
This guide is versatile and applicable to both active and edible mushrooms:
✨ Psychedelic mushroom species: This includes Psilocybe Cubensis, Psilocybe Natalensis, Panaeolus, magic truffles like Psilocybe Tampanensis, Psilocybe Mexicana, and Psilocybe Galindoi; Psilocybe Hoogshagenii var. convexa; Psilocybe Azurescens, and more.
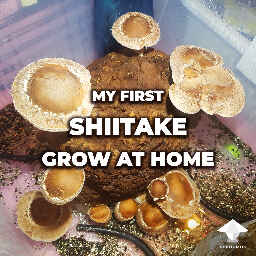
✨ Edible, gourmet, and medicinal species: This includes shiitake, Lion's Mane, oyster, maitake, enoki, cordyceps, reishi, and others.
Let's dive in!
What is Liquid Culture
Liquid media, or liquid culture media, is a low-viscosity nutrient broth designed to support the growth of liquid mycelium, also known as liquid culture. This sterile concoction is made from water and one (or more) simple carbohydrates. Its purpose is to foster the development of mycelium after it's been inoculated with a spore syringe, liquid culture syringe, liquid inoculant, or agar.

Liquid culture (LC), or liquid mycelium, is the vegetative growth of fungi that consists of thin, branched mycelial filaments within a liquid medium (LM). Within this nutrient broth, mushroom spores can germinate, form hyphae, and intertwine with these hyphae to form a mycelial network - clones of the original.

In essence, this is the same mycelium you typically see on substrate or agar. The only difference lies in the form of nutrient media provided for mycelium growth. This mycelium's consistency and appearance resemble that of a jellyfish.
Once the mycelium has colonized the nutrient broth, the liquid culture can be inoculated into a grain substrate, agar media, or stored in liquid form for an extended period.
Advantages of Mushroom Liquid Culture
✅ Colonization speed is 2-3 times faster compared to a spore syringe solution and even faster than agar inoculation. Within 7-14 days post-inoculation with Liquid Culture, you can have fully colonized grain spawn.
✅ High viability, allowing for a head start over potential contaminants in the grain substrate.
✅ It's cheap and easy to prepare, even for beginners. You can create liquid media from ingredients you likely already have at home (e.g., honey, potatoes, brown rice). Moreover, a pressure cooker isn't necessary for LC sterilization.
Disadvantages of Mushroom Liquid Culture
➖ It's typically impossible to identify contamination directly in the liquid culture and to be 100% certain it's free of contaminants. If you've inoculated your liquid media with a spore syringe, it's highly recommended to check your Liquid Culture on agar before inoculating a multitude of grain jars.
Basic Guidelines for Preparing Liquid Culture Media
Liquid media generally comprise simple carbohydrates (simple sugars) dissolved in water.
🟠 Distilled water is recommended for preparing liquid media. However, reverse osmosis (RO) clean, filtered, and chlorine-free drinking water can be used.
🟠 The nutritional base primarily consists of simple carbohydrates such as honey, corn syrup, malt extract, glucose (the same as dextrose), fructose, grain or potato broth, and so on.
🟠 The optimal concentration of nutrients for liquid media falls between 1-4%. A concentration of 5% isn't critical, but the idea that 'more is better' doesn't necessarily apply to mushrooms.
⛔️ Concentrations of 10% or more carbohydrates can be harmful to mushroom mycelium!
Liquid culture for noobs without sterilization
Liquid culture in syringe
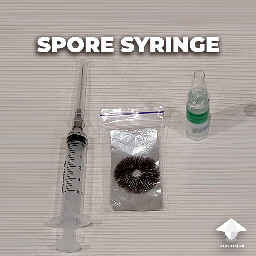
If you have a spore print make a spore syringe first.
Check out full guide: How to make a spore syringe

For this method, I suggest to prepare a spore solution in larger volume syringes, ranging from 20-60 ml. However, if you have only a 10 ml syringe, it's not a problem; you can still use it.

Make a spore solution in syringe aka spore syringe

Add sterile pharmaceutical-grade glucose to the syringe. This could be glucose for intravenous drip or glucose from an injectable vial.

For the liquid culture, we need a glucose concentration of 1-4% in the syringe solution.
Calculating how much glucose to add:
- 50% glucose: add 0.25-0.75 ml per 10 ml of the spore solution.
- 25% glucose: add 0.5-1.5 ml per 10 ml of the spore solution.
- 10% glucose: add 1-4 ml per 10 ml of the spore solution
- 5% glucose: add 5-10 ml per 10 ml of the spore solution
Store the syringe in a dark place at room temperature and leave it undisturbed for the next 2-3 days.
After 2-3 days, check the syringe. You should see thin threads forming in the liquid.

From this point forward, shake it daily to prevent mycelium clumps.

Typically, within 10-14 days, the liquid culture in the syringe will be ready for inoculation.
This method is incredibly straightforward, as it eliminates the need for preparing liquid media and subsequent sterilization in a pressure cooker. The risk of contamination is minimal, as pharmaceutical-grade glucose is sterile.
Using this type of liquid culture can significantly accelerate grain colonization in comparison with spore solution.
However, it's worth noting that you can't be completely sure it's free of contaminants because spore prints, and therefore spore syringes, can't be 100% sterile.
💡 Tip: I highly recommend testing your spore syringe and/or liquid culture on agar before inoculation to make sure it is free of contaminants! If you are not ready for agar work skip it for now and use 1-2 grain jars for test before inoculating a bunch of jars/bags
Since the amount of liquid culture is small, it can be challenging to shake it well and break up the mycelium in the syringe. That's why it's recommended to use such a syringe within 1-3 months of preparation.
Once the liquid culture is fully colonized, store it in the refrigerator (between 35-45ºF or +2º..+8ºC) and give it a shake 2-4 times a month.
Using Pharmaceutical Glucose for Liquid Culture without Sterilization
You can use liquid glucose (dextrose) from the pharmacy in sealed bottles for drops (usually 250-500ml intravenous bottles).
You can utilize liquid glucose (aka dextrose) from the pharmacy, typically found in sealed bottles/bags intended for intravenous drips (usually 100-500 ml glass/plastic bottles/bags).

There are available 5%-20% dextrose solution. Then you can add more sterile water and make 2-4% solution.
These come in concentrations of 5%-20% dextrose solution. If necessary, you can add more sterile water to create a 2-4% solution.
It's advisable to use a 5% concentration, as this is essentially ready-to-use sterile media for fungal development. You can directly inoculate the 5% glucose solution, or dilute it to achieve a 2-4% medium. To dilute it, remove 20-50% of the glucose solution with a syringe and add sterile water or chilled boiled water (boil the water for 20 minutes).
The main advantage of such a glucose solution is that it's already sterile, and you don't need to sterilize it in a pressure cooker.
Inoculate this liquid medium with a spore syringe or a liquid culture syringe, and then wait for the mycelium to grow.

Now, let's explore a common approach suitable for true mushroom growers and farmers.
Step 1. Liquid Culture Recipes
Choose any recipe for liquid media; all of them work well. Experiment with different options to find the best one for your mushrooms. Prepare as much liquid as you need, but always maintain the correct ratio of nutrients (1-4%) to water.
💡 Pro Tip: I recommend adding all ingredients to warm or hot water, as this helps dissolve them better. Ensure all ingredients are fully dissolved! You can also add a pinch of gypsum to each jar
Recipe 1. Honey LC or Corn Syrup LC
Honey water is a basic recipe for liquid culture. It works great, with the only potential drawback being possible caramelization during sterilization if you use honey. A great substitute for honey is light corn syrup (like Karo) or fructose syrup for beverages.
Recipe 2. Light Malt Extract LC
This recipe is also popular for promoting fast mycelium growth. The only subjective disadvantage is the dark amber color of the liquid. It's better to use light malt.
- LME aka Light Malt Extract (Amazon) - 2-4g
- Water - 100 ml
Recipe 3. Dextrose or fructose LC
I love this recipe for the clear, transparent color of the liquid media. Mycelium develops slower here, but it's perfect for long-term storage.
Recipe 4. Malt extract Dextrose LC
Recipe 5. Grain water LC
This old-school recipe is cheap and simple. For better results (faster growth), use the same type of grain for both the broth and grain spawn (e.g., brown rice for both). Sterilization should be slightly longer, around 40 minutes.
Simmer grain in water for 30-40 mins.
Drain the grain, keeping only the broth.
Add water to bring the solution back to 1 quart (1 liter).
Done!
Recipe 6. Potato broth LC
Another old-school recipe that can be prepared at any time using only potatoes. All other ingredients are optional. The potential drawback is a slightly hazy solution, but it becomes almost transparent after sterilization. Sterilization should be a bit longer, around 40 minutes.
Ingredients:
- Unpeeled fresh potato - 150g
- Water - 500ml
- Optional: Dextrose or Honey/Corn syrup or LME - 7g
Instructions:
- Wash the potato but don't peel it. Cut it into 4 pieces.
- Simmer the potato in water for 20-30 mins.
- Drain the potato and add any optional ingredients to the broth (dextrose, honey, corn syrup, LME).
- Filter the broth to remove potato pieces (e.g., using coffee filters).
- Add water to bring the solution back to 500 ml. Done!
Use this broth as a nutrient medium for your liquid culture.
Recipe 7. Potato flakes LC or potato starch LC
You can use potato flakes or potato starch as a substitute for real potatoes.
Recipe 8. LME, yeast, potato flakes, peptone
This recipe is excellent for promoting rapid liquid culture growth. There are different variations of this recipe. For instance, you could use Light Malt Extract (LME) or corn syrup combined with peptone.
Ingredients:
- Nutritional yeast (Amazon) - 1g
- Potato flakes (Amazon) - 1g
- Light Malt Extract (Amazon) or honey/corn syrup - 7g
- Peptone (Amazon) - 1g
- Water - 500 ml
Recipe 9. Complete LC recipe by Radical Mycology
Ingredients:
- Malt (light malt extract) - 10g
- Peptone - 1g
- Yeast - 0.3g
- Vegetable oil - 5 drops
- Ground grain - 1g
- + pinch of gypsum (optional)
- Water - 500 ml
Recipe 10. Lysogeny LC
Ingredients:
- Dextrose - 10g
- Peptone - 5g
- Yeast - 2.5g
- + pinch of gypsum (optional)
- Water - 500 ml
Step 2. Jars and Lids for Liquid Culture
You can use or reuse any transparent glass jars, including canning jars or mason jars available on Amazon. You can even repurpose any glass jars you have at home. The optimal volume is between 10-32 oz or 300-1000 ml. The medium size of 16 oz or 500 ml is usually ideal (Amazon).

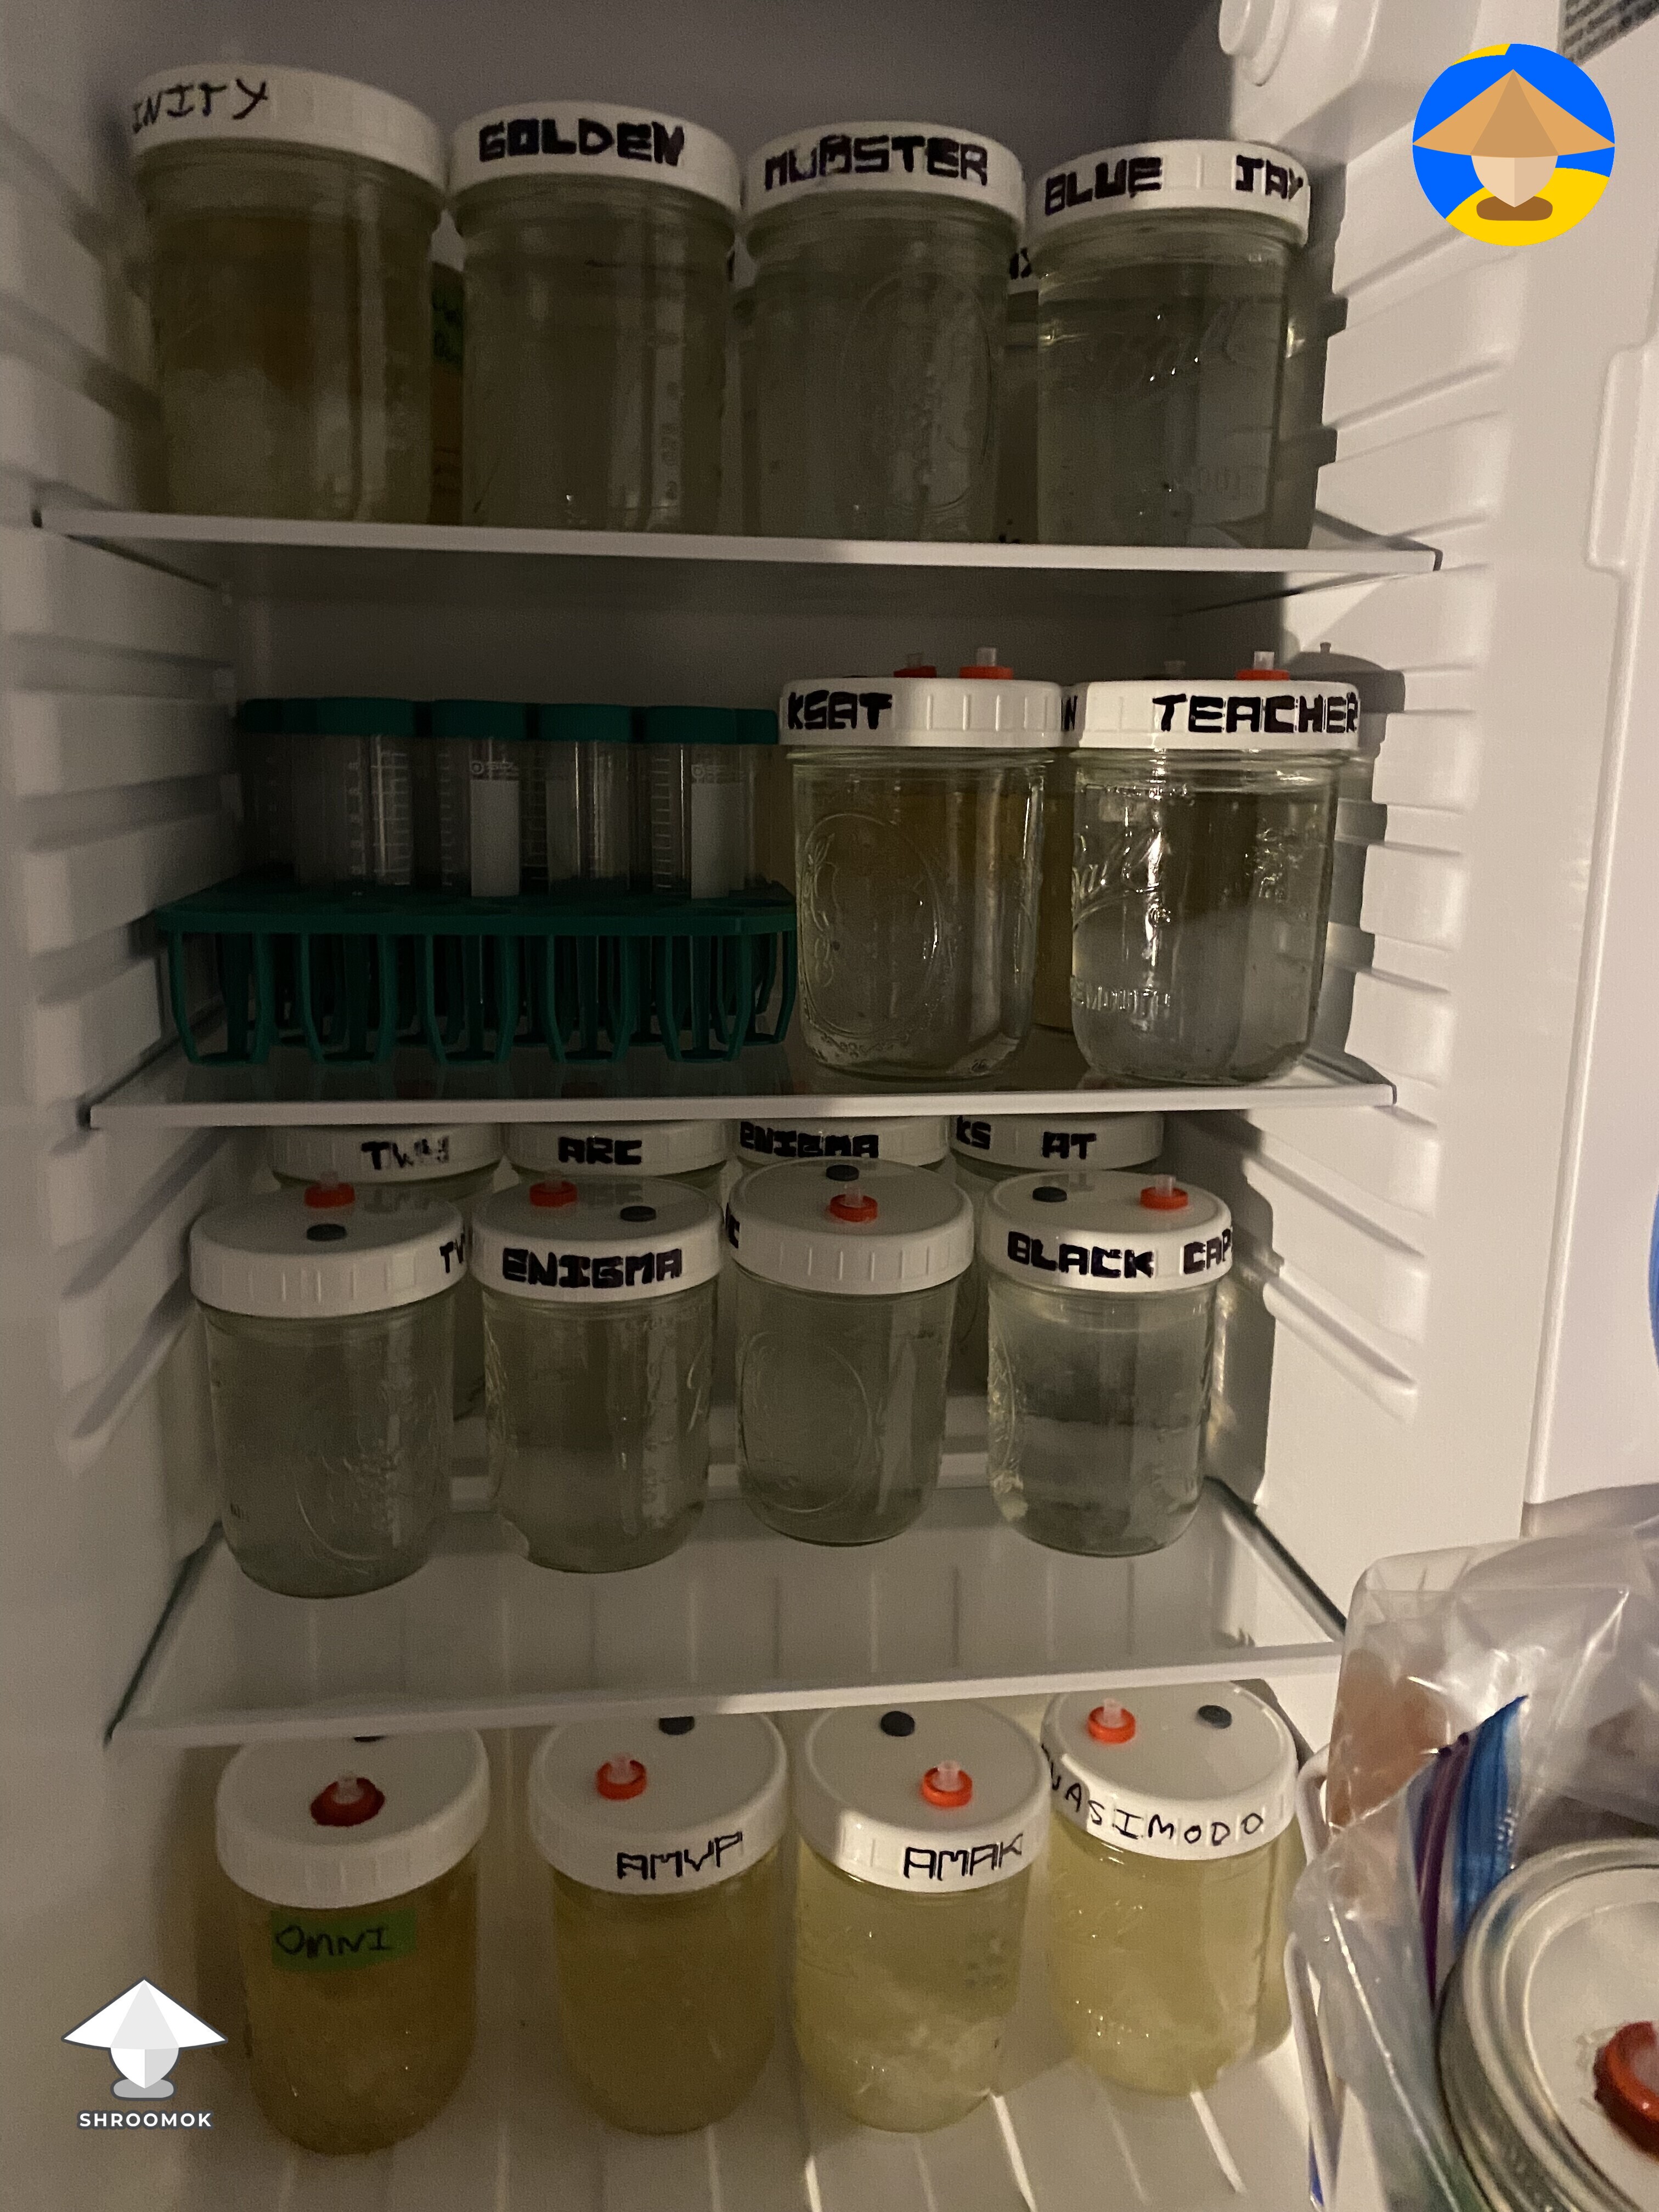
In the photos for this guide, you can see some repurposed pharmacy jars. This isn't a specific recommendation, I just had them on hand and repurposed them as part of a zero-waste approach. They work well and already have a self-healing injection port.

Create modified lids with a self-healing inoculation port and synthetic hydrophobic filter disks (available on Amazon); or use a syringe filter (Amazon) as breathable filter for gas exchange.

Use heat resistant high temp silicone, like RTV (Amazon), to attach and seal all components on the lid.

RTV silicone can be used as an alternative to self-healing butyl rubber stoppers for DIY inoculation ports in lids.

Alternatively, you can buy ready-made 5PP Liquid Culture Lids (Amazon)
💡 Tip: Jars and lids are reusable. It's better to use plastic 5PP lids, as metal lids can start to rust around the holes after 1-3 uses, potentially becoming a vector for contamination. To prevent this, seal the edges of holes in metal lids with high temp silicone.
Fill the jars with liquid media to about 50-80% of their total volume.

If you have a Magnetic Stirrer Bar (Amazon), add it directly into the liquid now.

💡 Tip: Magnetic stir bar helps to break up the mycelium and adds oxygen.
If you don't have magnet bar add a stainless steel bolt, or marble mixer, or glass ball, or nickel coin, aquarium decoration stone, or any smooth stone
If you don't have a magnetic bar, you can add a stainless steel bolt, marble mixer, glass ball, nickel coin, aquarium decoration stone, or any smooth stone.

Don't worry if you don't have any of these items or forget to add one. You'll just need to shake the liquid culture a bit longer to break up mycelium clots.
Step 3. Liquid culture media sterilisation
Before sterilization, wrap the lids in foil to keep the air filter dry during the sterilization process.
Sterilise the liquid media broth for 20-30 minutes at 15 PSI in a pressure cooker (Amazon) or autoclave.

If you're using Recipe 5 (grain broth) or Recipe 6 (potato broth), I recommend sterilizing a bit longer, for 30-40 minutes.
Some books and guides recommend sterilizing liquid media in a pressure cooker for 15 minutes, and usually this works fine. However, in my experience, this has led to bacterial contamination more often. Instead, if I build pressure in the pressure cooker more slowly and sterilize at 10-15 PSI for a slightly longer period of 20-30 minutes, the results are much better.
Sterilization should not exceed recommended duration to avoid the caramelization of carbohydrates. This typically happens with honey and Light Malt Extract if you pressure cook for more than an hour. You can easily spot this: the caramelized liquid will appear more amber when it comes out of the pressure cooker than when it went in.

And there might also be sediment and strange substances at the bottom.

❗️Ideally, the liquid should retain the same color after sterilization as it had before. It may become a little bit darker, but it should remain clear and transparent.
Can I sterilize liquid culture media without a pressure cooker
Yes, liquid media can be sterilized in an ordinary pot with a lid, Instant Pot, or multi-cooker for 40-60 minutes.
Eliminating potential contaminants in liquid is much easier than in a grain substrate, which is why this method can be successfully employed for liquid culture preparation.
Step 4. Inoculate Liquid Media
❗️Ensure the jars have cooled down to room temperature after sterilization before proceeding!
Before inoculation, prepare yourself and your workspace. This includes washing your hands, putting on gloves, wearing a face mask, and sanitizing your tools. Also, ensure your workspace is clean. Turn off ventilation at least 30-60 minutes in advance and clean all surfaces and inoculation ports with alcohol.
Using a Still Air Box (SAB), Fan Filter Box, or Laminar Flow Hood is optional, but recommended, especially if you're working with agar.
Prepare your genetic material for inoculation. Typically, you have:
- spore print for making a spore syringe
- ready to use spore syringe
- ready to use liquid culture in a syringe
- mycelium on agar
The syringe needle must be sterile! Clean the inoculation port with alcohol before introducing the needle.

For further sterility, between inoculations, sterilize the needle by flaming it until it glows red and/or use alcohol wipes.

Add 1 cc/ml of genetic material through the inoculation port to each jar of sterile liquid media (even a few drops is enough).

Shake the jar after inoculation to distribute the genetic material throughout the media. Now, simply wait for the mycelium to grow.
Can I make a Liquid Culture from Mycelium on Agar
Certainly! This is one of the best methods of inoculation as you're introducing contamination-free mycelium into the liquid media. Moreover, this method allows you to use perfect isolated strain for LC inoculation.
Such a process requires a Still Air Box (SAB), a Fan Filter Unit, or a Laminar Flow Hood, as it involves opening both the jar with sterile liquid media and the agar plate with mushroom mycelium.
If you're already working or plan to work with agar, at least having a SAB is essential. A Laminar Flow Hood or a Fan Filter Unit is recommended for easier operation.
Check out guide: DIY Fan Filter Unit for under $100
There are two methods to inoculate liquid media with agar:
1) Simply cut a small piece(s) of mycelium on agar using a scalpel. Open the jar with sterile liquid media and put the agar into it for further growth. That's it!
2) Alternatively, you can make a Liquid Inoculant (LI) from agar.
📖 Liquid Inoculant (LI) is a suspension of mushroom mycelium in water. This differs from a Liquid Culture (LC) as the mycelium does not grow in the medium, but is instead a method for transfer/inoculation.
The most common way to make an LI is to blend up a wedge or dish of clean mycelium on agar with sterile water and draw it into a syringe. To do this, add a few cc/ml of sterile water onto the agar plate with a syringe and gently scrape mycelium with the syringe needle or an inoculating needle/loop.
The syringe containing the LI can be used for inoculation in the same way as a spore syringe or a liquid culture syringe. Simply add 1 cc/ml of LI into the sterile liquid media through the inoculation port in the jar. Give the jar a little shake. That's it!
Mushroom Liquid Culture from Grain Spawn
1) Add a few kernels of healthy colonized grain spawn into the liquid medium in sterile conditions. This method is typically used as a form of mycelial propagation, although it's practiced on agar as well.
Once I've used this technique successfully to save a mushroom culture with bacteria contamination at the bottom of the jar, but I used healthy grain samples on the top of the jar.
2) Make a Liquid Inoculant from Grain Spawn. Add 10-20 ml of sterile water in grain spawn jar. Shake the jar a little. Now you have liquid inoculant - it means now the liquid have pieces of mycelium in it. Draw in the syringe and use it for LC media inoculation.
❗️ For this method mushroom grain spawn should be 100% contam-free!
Liquid Culture from the piece of mushroom body or cloning in liquid culture media
In fact it's mushroom cloning. This method involves using a piece of the fruiting body of the mushroom, which can continue its development in a liquid nutrient medium. Typically, a piece of the mushroom is chopped up in a blender and then added to the liquid media. This technique is particularly favored by farmers cultivating edible mushrooms.
Step 5. Conditions for Liquid Culture growth
After inoculation, store the jars in a dark place at room temperature (68-75°F or 20-24°C). Alternatively, you can put them in an incubation box (77-80°F or 25-27°C) to promote further colonization.
2-4 days later, check the jars. You can usually see the first signs of hyphae and mycelium within 2-7 days.
🧬 Mycelium is made up of thin threads that measure 1.5-10 microns in thickness. Under favorable conditions in their natural environment, the mycelium can grow miles in length. These threads are called hyphae, and where hyphae intersect, they form nodes and a network of mycelium.
❗️The color of mycelium should be white or slightly yellowish. The texture of mycelium is cloudy and cotton-like. The liquid media should remain clear and transparent.
Here are some photos showing the day-by-day development of the liquid culture:


Step 6. Shake the Liquid Culture
2-4 days after inoculation, shake the broth thoroughly to distribute the spores, hyphae, and mycelium evenly.
Once you observe mycelium growth, shake the nutrient broth every day for the following 7-14 days to encourage uniform spreading in the liquid and prevent mycelium clumps. Dense clumps may be difficult to draw into a syringe later on.
Moreover, breaking apart the mycelium accelerates its spread throughout the entirety of the nutrient broth and saturates the culture with oxygen.
How to shake the Liquid Culture
This can be done manually. Ideally, you would have added a magnet bar in the jar (or alternatively, a stainless steel bolt, marble, glass ball, nickel coin, or smooth stone). If you haven't, it's not a problem. You'll just need to shake for a longer duration (1-2 minutes).
If you add a magnet bar to the jar, you can stir it manually or use a laboratory Magnetic Stirrer (Amazon)
It's relatively straightforward to create a simple magnetic mixer on your own.

Check out guide with video: DIY magnetic stirrer for liquid culture
When is Liquid Culture ready
Usually, the liquid culture is ready for the next steps within 10-14 days. Once it's ready, shake it to distribute the mycelium for usage.

The speed of growth can vary based on several factors:
- The quality of the mushroom genetics
- The type of genetic material used for inoculation (for instance, a spore syringe may require more time than LC, liquid inoculant, or agar)
- The temperature (lower temperatures result in slower growth)
- The presence of contaminants in the broth (such as bacteria, yeast, mold, and viruses), which are often invisible but can inhibit mycelial growth
- The content and nutrient ratio within the liquid media
Always monitor your liquid culture carefully to ensure optimal growth conditions.
How to Use Mushroom Liquid Culture
Prepare a sterile syringe with a needle. It's recommended to use thicker 18G or 16G needles, as they make it easier to fill the syringe with thick mycelium threads.

💡 Pro Tip: Use 2-way stopcocks (available on Amazon) to avoid contamination when filling the syringes with liquid culture. This allows you to leave a needle in the LC jar and simply switch syringes. Afterward, you can close the valve to prevent contaminants from entering.

Shake the jar and fill the syringe with Liquid Culture.


To inoculate a sterile grain substrate (in jars or grow bags), wipe the inoculation port with alcohol and draw 1-5 cc/ml of liquid culture into a sterile grain.

❗️ Important: Treat the syringe needle with alcohol and/or flame (until it's red) BEFORE inoculating the other jar!
To inoculate an agar plate, shake the LC and place a few drops on the agar plate.
Remember, maintaining sterility throughout these steps is crucial to avoid contamination.
Signs of Liquid Culture Contamination
As mentioned earlier, the main disadvantage of liquid culture is that you can't be 100% certain of its sterility. Contamination signs are usually detected when you check your LC on agar (which is highly recommended) or after inoculating the grain substrate.
However, there are several visible signs of LC contamination
Bacteria or Yeast contamination
Bacteria or yeast contamination usually appears in the first weeks after inoculation. The main signs are:
Smell through the filter: fermentation/sweet/sour/yeasty/cider are obvious signs of contamination.
Fermentation bubbles: These may appear when you shake the jar, similar to a foamy beer. The bubbles become more intense with each shake. This is a sure sign of bacterial or yeast contamination.

Cloudy liquid: If your liquid culture is not clear and transparent, it may indicate bacterial contamination.

These issues may arise due to contaminated genetic material (spore print, spore syringe, LC syringe), sterility problems during the inoculation process, or improper sterilization of the liquid culture media.
Mold Contamination in Liquid Culture
Identifying mold in LC is challenging because it's also in the mycelial stage, making it difficult to distinguish from mushroom mycelium in liquid. However, there can sometimes be clear signs of mold contamination. For instance, mold may float on the surface of the nutrient broth.

Remember, any change in color is a sure sign of mold: green, blue-green, pink, purple, black, gray, etc. This rule applies to liquid culture when mold is floating on the top.

Gray-black growth on the top and cloudy liquid also indicate mold contamination.

Healthy Liquid Culture that might be confused with contamination
Certain characteristics of healthy liquid culture might be confused with contamination. For example, mycelium clumps might appear when you don't shake the jar for several weeks or months while storing LC jars.

In such cases, shake the jar carefully and proceed with using the liquid culture.

To prevent such dense mycelium growth, shake the jar more often, use a magnet stirrer bar, or a marble stone in LC to break mycelium more easily.
How to Test if Liquid Culture is contaminated
The most reliable method to test liquid mycelium for contaminants is to use agar media.
💡 Pro Tip: If you are not ready for agar work don't worry and skip it for now. Just use 1-2 grain jars for test before inoculating a bunch of jars
Highly recommended to test your LC, especially if you used a spore syringe and didn't test it before LC inoculation!
Agar serves as a solid medium that can reveal any contamination within 2-7 days after placing a few drops of liquid culture onto it.

Signs of contamination include white or colored slime (a sign of bacteria or yeast contamination), or any powdery colored growth other than snow-white. If any of these signs are present, your culture is likely contaminated.

Liquid Culture vs. Agar for Grain Inoculation
The choice between liquid culture and agar for grain inoculation is a topic of debate among mushroom growers. The decision ultimately depends on personal preferences, previous experiences, and specific needs.
Personally, I prefer using liquid culture for grain inoculation because the mycelium growth on grain is much faster, and it allows me to skip some steps in the sterility routine.
Agar is indeed a great option for grain inoculation, however mycelium tends to spread more slowly and a higher level of sterility is required when working with agar.
How long to store Liquid Culture
Liquid culture can be stored in the refrigerator for 6-12 months or even longer. It remains active until the liquid mycelium has consumed all the nutrients in the solution, making it suitable for long-term use in your mycological experiments.
If you haven't used your liquid culture for 1 year and want to preserve the culture, simply prepare a new jar with nutrient broth and transfer 1-2 cc/ml of the "mother liquid culture" to the fresh liquid media. Allow it to grow and then store the new liquid culture in the refrigerator for the next 6-12 months.
How to store Liquid Culture
During the initial development and active growth of liquid mycelium (first 2-4 weeks), the jar should be stored at room temperature (68-77ºF or 20º-25ºC) in a dark place. However, what should you do afterwards?
Can Liquid Culture be stored at room temperature for longer
Yes, liquid culture can be stored at room temperature for longer, but it is recommended not to exceed 1-3 months.
How to store Liquid Culture for longer
For long term storage keep your jars with liquid mycelium in the refrigerator or cool dark room at 35-46ºF or +2º...+8ºC. This will slow down the growth of the mycelium and nutrient absorption, allowing you to preserve the liquid culture for at least 6-12 months, and potentially even longer, extending its shelf life for years to come.
What if I freeze Liquid Culture
Liquid mycelium is capable of surviving after being frozen and can continue its development.
There have been instances where mycelium survived after being frozen at temperatures as low as -4°F or -20°C for 1 month and colonized grain substrate after inoculation successfully. However, freezing the mycelium has no significant benefit. Freezing can potentially stress the mycelium, so it's generally not recommended unless there is a specific reason or experiment requirement to do so.
Afterwords
Once you have mastered the basic liquid culture technique, you can explore and expand your mushroom cultivation skills. Experimenting with agar work, making an aerated Liquid Culture, using pro tools like Erlenmeyer flasks, blenders, magnetic stirrers, can indeed enhance your LC production and make the cultivation process easier.
Continuously improving your process and exploring new techniques will contribute to a fulfilling and rewarding mycological journey. Enjoy the exciting world of mushroom cultivation!
If you find this guide helpful, please support me with a cup of coffee on ☕️ buymeacoffee
Have a happy growing!
Peace, Shroomok ❤️
Check out more examples in 📸 Liquid Culture photo gallery
Join Shroomok on Discord and Reddit for questions and sharing your experience.
You can also leave your comments on this page below ⬇️

Comments
That was informative, you had 4 that are new to me and got me a little curious, good job by the way, very easy to understand for anyone new and curious, give this a read
Add comment